- ページ 4

コピー機 Xerox C123 CopycentreのPDF ネットワーク・マニュアルをオンラインで閲覧またはダウンロードできます。Xerox C123 Copycentre 50 ページ。 All in one printer
Xerox C123 Copycentre にも: インストレーション・マニュアル (2 ページ), 評価者マニュアル (12 ページ), パンフレット&スペック (6 ページ), インストールマニュアル (2 ページ), スキャンマニュアル (28 ページ), クイック・インストール・カード (2 ページ), マニュアル (28 ページ), オフィスフィニッシャーインストールマニュアル (6 ページ), オフィスフィニッシャーインストールマニュアル (6 ページ), ハードウェア・インストール・マニュアル (4 ページ), 大容量トレイ設置マニュアル (3 ページ), 大容量トレイ設置マニュアル (3 ページ), ハードドライブキット取り付けマニュアル (2 ページ), インバーター設置マニュアル (2 ページ), インストレーション・マニュアル (2 ページ), ハードウェア・インストール・マニュアル (2 ページ), スタンド設置マニュアル (2 ページ), パンフレット&スペック (4 ページ), サービスマニュアル (22 ページ)
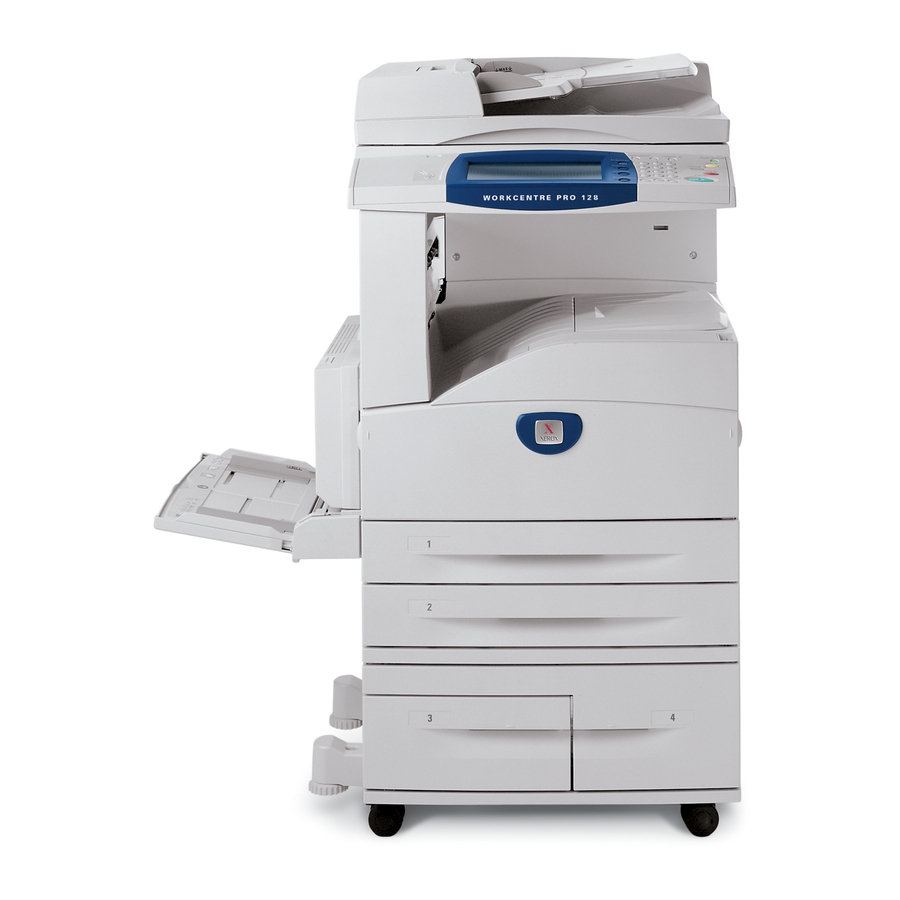
Xerox C123 Copycentre ネットワーク・マニュアル
4.
Read the System Settings List to confirm that an IP address has been allocated and that it is a valid IP
address on your network.
Note
If the IP address starts with 167.xxx.xxx.xxx, then the DHCP server has not properly allocated an
address or DHCP is not enabled on your network.
5.
Record the IP address allocated.
6.
From a workstation, open a web browser (such as Internet Explorer), and then enter the IP address in the
format http://xxx.xxx.xxx.xxx (the xxx's represent the device IP address). If connected properly, you
should see a CentreWare Internet Services web page for your device.
Note
CentreWare Internet Services is a powerful tool for configuring the device remotely. The default user
name is 11111 and the password is x-admin. The user name and password are case sensitive and
should be changed after install.
7.
Load the print drivers on the workstations that will be accessing the device.
Note
For more detailed instructions, see the System Administrator Guide.
Xerox WorkCentre M123/M128/133
Xerox WorkCentre Pro 123/128/133
2
Quick Network Setup (DHCP)