- ページ 27

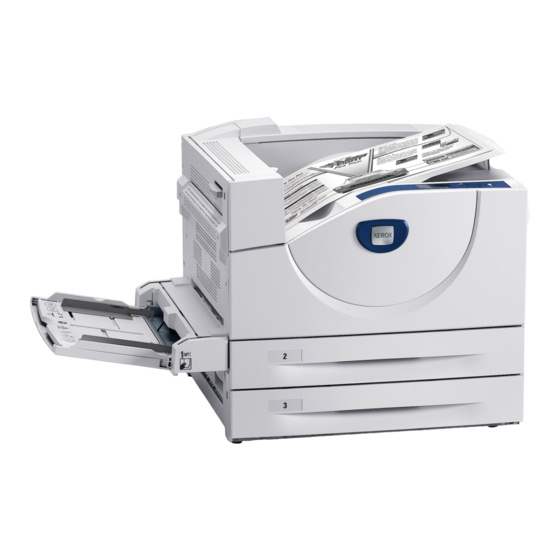
プリンターアクセサリー Xerox Phaser 5500 seriesのPDF メンテナンス・マニュアルをオンラインで閲覧またはダウンロードできます。Xerox Phaser 5500 series 50 ページ。 Postcards
Xerox Phaser 5500 series にも: 補足マニュアル (2 ページ), セットアップマニュアル (2 ページ), 補足マニュアル (9 ページ), クイック・リファレンス・マニュアル (9 ページ), マニュアル (39 ページ), マニュアライン (3 ページ), インストラクションシート (8 ページ), インストラクションシート (5 ページ), インストラクションシート (3 ページ), リパッキング・マニュアル (3 ページ), インストラクションシート (2 ページ), インストラクションシート (2 ページ), インストラクションシート (2 ページ), インストラクションシート (2 ページ), インストラクションシート (2 ページ), インストラクションシート (2 ページ), マニュアル (2 ページ), インストラクションシート (1 ページ), インストラクションシート (1 ページ), 評価者マニュアル (13 ページ), 評価者マニュアル (16 ページ), メンテナンス (1 ページ), ユーザーマニュアル (3 ページ), ユーザーマニュアル (2 ページ), クイック・リファレンス・マニュアル (9 ページ), クイック・スタート・マニュアル (2 ページ)

Xerox Phaser 5500 series メンテナンス・マニュアル
4.
Specify the size of the paper by doing the following:
a.
In the front panel menus, select Printer Setup, then press the OK button.
b.
Select Paper Handling Setup, then press the OK button.
c.
Select Tray [2 - 5] Setup, then press the OK button.
d.
Select Auto Sensed, Custom, or a listed paper size, then press the OK button.
e.
If you selected Custom, specify the width and height of the paper. Select Custom
Width, press the OK button, scroll to the width of the paper, then press the OK
button. Select Custom Height, press the OK button, scroll to the height of the paper,
then press the OK button.
5.
Open Door A.
Warning
Use caution; some components inside Door A may be hot.
6.
Pull the jammed paper out of the printer. If necessary, press the green handle to move the
paper to make it easier to remove. Confirm that all paper fragments are removed.
Phaser® 5500 Laser Printer
4-29
Paper Jams
5500-001
5500-002