- ページ 31

ソフトウェア Xerox Phaser 7300DNのPDF ペーパーマニュアルをオンラインで閲覧またはダウンロードできます。Xerox Phaser 7300DN 34 ページ。 Quick reference guide
Xerox Phaser 7300DN にも: トラブルシューティングマニュアル (40 ページ), 特徴 (1 ページ), パンフレット&スペック (4 ページ), ユーザーマニュアル (50 ページ), 機能マニュアル (40 ページ), サポートマニュアル (28 ページ), セットアップマニュアル (18 ページ), セットアップとクイック・リファレンス・マニュアル (45 ページ)
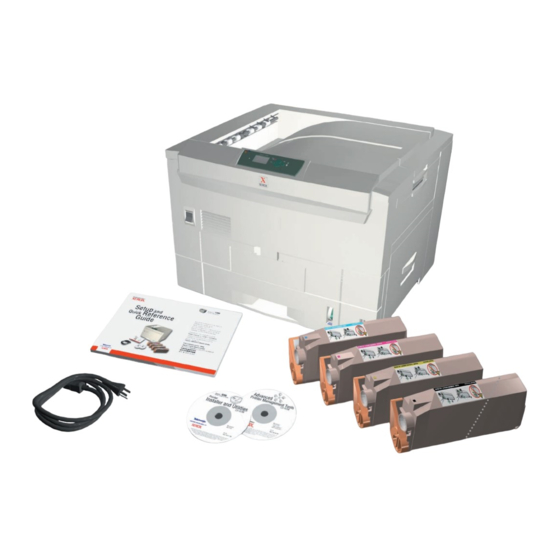
Xerox Phaser 7300DN ペーパーマニュアル

Output Trays

You can send output to the following trays:
Top Output Tray
Default output destination.
I
Delivers output facedown.
I
Can be used for paper up to 18 inches
I
long.
To change the default output destination on the front panel:
1.
With
highlighted, press the OK key.
Menus
2.
Scroll to
Printer Setup Menu
3.
Press the OK key.
4.
Scroll to
Job Defaults Menu
5.
Select
Set Paper Destination
6.
Select either
Top Output Tray
The output goes to the default tray unless specifically changed in the printer driver.
Note
When you select the Left Side Output Tray as the paper destination and the Left Side Output
Tray is not open, the printer displays an error message on the front panel that the job will not
print until the Left Side Output Tray is opened.
Copyright © 2002 Xerox Corporation. All Rights Reserved.
Left Side Output Tray
Delivers output faceup.
I
Keeps the paper flat so is always used for printing on
I
envelopes, labels, business cards, and other specialty
(450 mm)
media.
Must be used when you print on paper that is over
I
(450 mm)
18 inches
2
using the Up Arrow or Down Arrow key.
and press the OK key.
or
Left Side Output Tray
Phaser® 7300 Color Printer
long.
1
and press the OK key.
7300-17
26