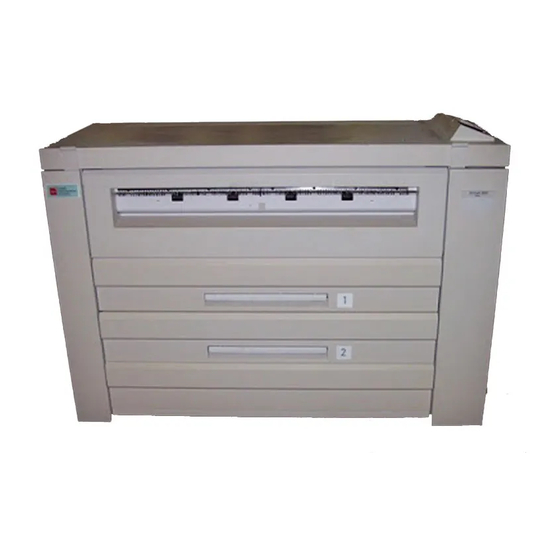
- ページ 46
プリントサーバー Xerox FreeFlow AccxesのPDF 顧客トレーニングマニュアルをオンラインで閲覧またはダウンロードできます。Xerox FreeFlow Accxes 50 ページ。 Software tools
Xerox FreeFlow Accxes にも: パンフレット (4 ページ)

42
Using the Printer Queue and Media Mismatch feature
Select the Printer Queue tab.
Read the "Quick Start - Printer Queue Tool"
section of the Quick Start help file. This
section explains which toolbar buttons to
select for viewing a print job that you sent to
the printer from the Document Submit tab. It
also explains how to cancel a submitted print
job.
Go to the Web Printer Manager Tool. Select
Printer Defaults > Processing Defaults >
Media. Check the "Enabled" box next to
Media Mismatch Recovery. When it is
enabled, it will allow your print jobs to go to a
mismatch queue while the remaining print jobs
finish printing. Then you can resolve the
mismatch.
On the Document Submit screen,
select the Job Options toolbar button.
Select the Finishing tab > Help button.
Read over the Media Mismatch section and
make your media mismatch selection of
Scale to Fit, Block Printing, or Substitute
Media.
Select the OK button.
Go back to the Document Submit tab, where
you have listed various documents that you
want to send at one time to the printer.
Select the Print Document Set toolbar
button to send the print job to the printer.
If you want to save this set of documents as a
single file, select File, Save on the Document
Submit tab toolbar menu.
FreeFlow Accxes Software Tools Training Guide
