- ページ 2
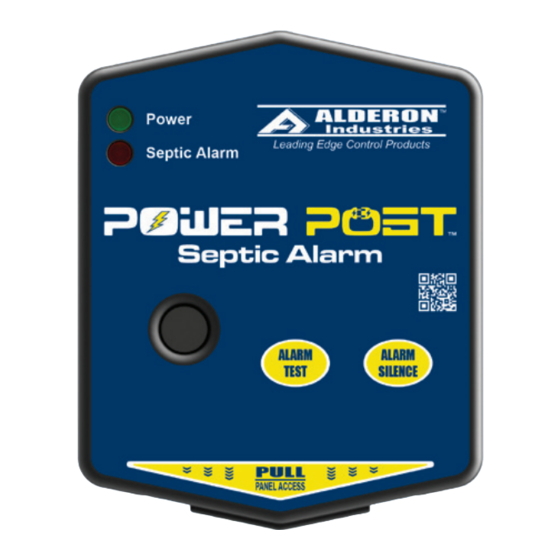
セキュリティシステム Alderon Industries Power Post VA-02のPDF 操作、メンテナンス、設置マニュアルをオンラインで閲覧またはダウンロードできます。Alderon Industries Power Post VA-02 4 ページ。 1-zone septic alarm

Power Post™ 1-Zone Alarm Panel - Installation Instructions
Installation of the Alarm Panel
1. To install/replace the battery for the backup power feature, remove the enclosure cover (Fig. 1) and install a 9VDC
battery (not included) by pressing down into the positive (+) and negative (-) terminal connections (Fig. 2). After installing
battery, perform a quick test, press and hold the alarm test pushbutton (Fig. 2 and Fig. 3) to activate the alarm and make
sure the battery is working properly. The alarm LED should illuminate (solid), buzzer should annunciate (solid), and auxiliary
contacts should activate. Leave the enclosure cover off until step 3, step 4, and step 5 are completed for the sensor and
auxiliary contact wiring.
Note: When on battery backup, the green power LED will not illuminate to conserve battery power.
WARNING: Do not connect AC power from a standard wall outlet or receptacle to the alarm panel until all steps of the
installation are complete and the system is ready for testing.
(Fig. 1)
2. Determine the mounting location for the alarm panel and leave the enclosure cover off. Make sure power outlet (120VAC,
50/60 Hz) is within 5-feet of the alarm panel (Fig. 4). The power outlet should be on a separate circuit breaker from any
other device and not on a switched receptacle to maintain system integrity. Mount the alarm panel using two (2) #6
self-tapping screws (not included / Fig. 5). Use two (2) #8 plastic anchors (not included / Fig. 6) if mounting the alarm
panel to sheet rock.
(Fig. 4)
Page 2 | Installation Instructions
Alderon Industries, LLC - Leading Edge Control Products | 218.483.3034 | [email protected] | [email protected] | alderonind.com
(Fig. 2)
2C
2D
2E
2B
5 ft. Max
+
2A
2A = Battery Connections
2B = Alarm Test Pushbutton
2C = Power LED
(green)
2D = Alarm LED
(red)
2E = Alarm Buzzer
(Fig. 5)
(Fig. 3)
(Fig. 6)
