- ページ 2
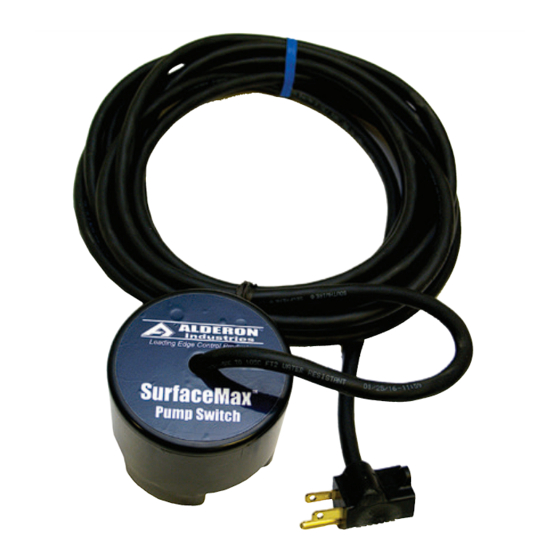
スイッチ Alderon Industries SurfaceMax 8076のPDF 操作、メンテナンス、設置マニュアルをオンラインで閲覧またはダウンロードできます。Alderon Industries SurfaceMax 8076 2 ページ。 Pump switch

SurfaceMax
Installation of the SurfaceMax
3. The SurfaceMax™ is designed to turn on at 0.375" liquid level and turn off at 0.125" (Fig. 2). Leveling screws
are provided and are optionally used for leveling or to slightly adjust the on and off liquid level set points of the
probes (Fig. 3).
Note: If using leveling screws, please see adjustable on and off levels below.
On Level:
0.375" No Screws Used
0.475" - 0.775" Adjustable (if using screws)
Off Level:
0.125" No Screws Used
0.225" - 0.525" Adjustable (if using screws)
Testing the SurfaceMax
1. After completing the steps for the installation of the SurfaceMax™, you are ready for testing.
2. Use a 1-gallon bucket of water for testing. Hold the SurfaceMax™ at the top of the enclosure or simply hold the
cord so that it can be lowered into the 1-gallon bucket of water.
3. Slowly lower the SurfaceMax™ so that the "On Probe" touches the water and the pump starts.
4. After pump has started, remove the switch from the water so the "Off Probes" are no longer touching water and
the pump should remain on for approximately 10-seconds. If the pump turns "Off", testing is complete. Repeat
this step a couple of times for assurance that the switch is working properly.
5. After testing is complete, place the SurfaceMax™ in the desired location where water is likely to accumulate.
Maintenance
The SurfaceMax™ uses an isolated patented circuit that detects water with no shock hazard at the probes.
1. Test system monthly to ensure switch integrity.
2. Keep all three (3) stainless steel probes (bottom of switch) clean and free of rust, mud, soap or any type of non
conductive material.
3. When inspecting monthly, clean probes keeping them free of debris, calcium or iron deposits.
Page 2 | Installation Instructions
Alderon Industries • PO Box 827 Hawley, MN 56549 • P: 218-483-3034 • F: 218-483-3036 • alderonind.com
Pump Switch - Installation Instructions
™
Pump Switch - Continued
™
(Fig. 2)
On Probe at 0.375"
Off Probes at 0.125"
Pump Switch
™
(Fig. 3)
Leveling Screws
(Optional)
