- ページ 9
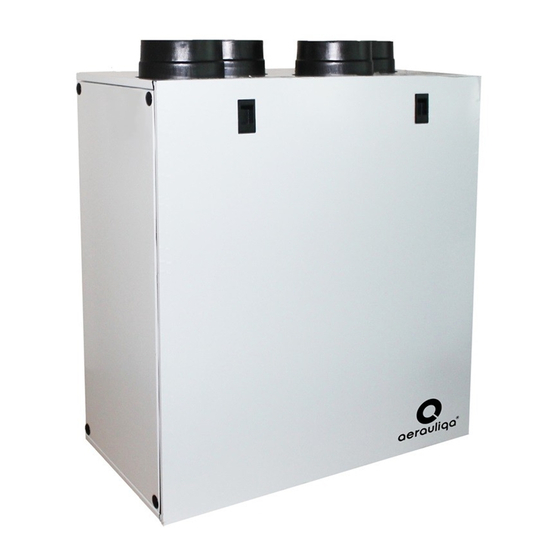
扇風機 aerauliqa QR350MBPのPDF インストレーション・マニュアルをオンラインで閲覧またはダウンロードできます。aerauliqa QR350MBP 16 ページ。 Heat recovery ventilation unit

40%
Intake
Supply
Extract
Exhaust
Breakout
dBA figures are average spherical free-field, for comparitive use only.
6.2 Before Starting the System
When the installation is finished , check that:
• Filters are mounted correctly
• The unit is installed in accordance with the instructions
• The unit is correctly wired
• Eventual outdoor and exhaust air dampers and silencers are installed and that the duct system is correctly connected to the unit
• All ducts are sufficiently insulated and installed according to local rules and regulations
• Outdoor air intake is positioned with sufficient distance to pollution sources (kitchen ventilator exhaust, central vacuum system exhaust or similar)
• The unit is correctly set and commissioned.
7 oPEratIoN
Make sure that specific warnings and cautions in Chapter 2 "Precautions" are carefully read, understood and applied!
7.1 Single speed operation
The unit runs at the speed set by turning the integral trimmer "V1" in the terminal box.
This is the default factory setting.
Wiring diagram: Fig. 5.j – Dip switch configuration: X000 (Fig. 5.p)
7.2 Two speed operation
The unit runs continuously at the speed set by turning the integral trimmer "V1" in the terminal box and can be boosted at high speed, which is set by turning
the integral trimmer "V2" in the terminal box. Boost is activated, when needed, by means of a remote two-position switch (not supplied) or by means of remote
sensors (SEN-HY, SEN-CO2 or SEN-PIR), which are accessories on request.
Wiring diagram: Fig. 5.k – Fig. 5.l – Dip switch configuration: X100 (Fig. 5.p)
7.3 Variable speed operation with CTRL-M remote manual controller (accessory on request)
The unit runs at the speed set by turning the knob of the CTRL-M remote manual control panel (accessory, Fig.5.q).
Wiring diagram: Fig.5.m – Dip switch configuration: X010 (Fig. 5.m)
7.4 Variable speed operation through external domotic (BMS) system or ballast potentiometer
The unit runs at the speed set by turning the knob of an external 1-10V ballast potentiometer or set by an external 1-10V signal from a domotic (BMS) system.
Wiring diagram: Fig.5.k – Dip switch configuration: X011 (Fig. 5.p)
7.5 Three speed operation with CTRL-S controller (accessory on request)
The unit runs at the speed selected by activating the two-position switches "S1", "S2" and "S3" of the CTRL-S (accessory Fig. 5.r)
"S1"
"S2"
O
O
I
O
O
II
I
II
Speed 1 is set by turning the integral trimmer "V1" in the terminal box.
Speed 2 is set by turning the integral trimmer "V2" in the terminal box.
Speed 3 is the maximum speed achievable by the unit.
S3 switch allows to activate the bypass, so to mitigate the heat exchange when necessary - see 7.7.
Wiring diagram: Fig.5.o– Dip switch configuration: X110 (Fig. 5.p)
Lw dB - SOUND POWER OCTAVE BAND
63
125
250
500
55
55
67
55
53
53
62
52
58
52
60
51
55
54
66
55
54
53
59
52
Operation
OFF
Speed 1
Speed 2
Speed 3
1 K
2 K
4 K
8K
49
47
40
31
47
41
32
22
47
42
32
22
49
47
40
31
48
43
33
23
WARNING
"S3"
Operation
Heat recovery
Bypass
Lp dB(A)
@3m
Tot
68
39
63
35
63
34
39
67
34
62
S1
S2
I
II
S3
9
