- ページ 24
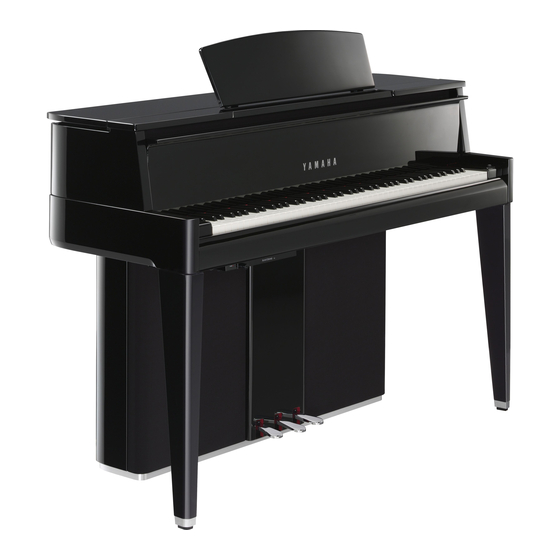
楽器 Yamaha AvantGard N2のPDF メンテナンス・ハンドブックをオンラインで閲覧またはダウンロードできます。Yamaha AvantGard N2 45 ページ。 Hybrid piano

N1
CAUTION: Make sure to never remove both the front board
assembly and the back rail assembly from the N1 at
the same time.
1. Top Board
1-1
Remove the four (4) screws marked [S25] and slide the top
board unit forward.
1-2
Disconnect the SP-NW connector assembly (8P) and T-SP
connector assembly (8P). The top board unit can then be
removed by lifting up.
* The DM circuit board is now accessible for servicing, etc.
2. Key Cover
Open the key cover (also called the fall board) the same as on an acoustic grand
piano (GP), raise and remove.
3. Front Board
3-1
Loosen the four (4) screws marked [S0A]
and seven (7) screws marked [S2EC].
The protect sheet assembly can then be
removed.
3-2
Remove the front board.
Remove the two (2) screws marked
[S20B] and two (2) screws marked [S27].
Pull the front board assembly toward
you and then lift it to remove it.
* In some cases spacers have been inserted
as shown in the photo so do not forget how
many spacers there are.
24
N1 DISASSEMBLY PROCEDURE
DM
TOP BOARD
<Top view>
[S20B] [S27] [S2EC]
<Front view>
FRONT BOARD
SP-NW CONNECTOR
<Rear View>
[S25]
DM
PROTECT SHEET
FRONT BOARD
[S04A]
BACK RAIL
TOP BOARD
T-SP CONNECTOR
TOP BOARD
[S25]
[S27]
[S2EC]
[S04A]
FRONT BOARD
[S20B]
[S04A]
