- ページ 8
楽器 Yamaha PORTATONE PSR E403のPDF サービスマニュアルをオンラインで閲覧またはダウンロードできます。Yamaha PORTATONE PSR E403 50 ページ。
PSR-E403
DISASSEMBLY PROCEDURE(分解手順)
Caution: Be sure to attach the removed filament tape just as it was before removal.
注意 : 分解時に取り外したフィラメントテープは、 必ず元通りに取り付けてください。
1.
Lower Case Assembly
(Time required: About 2 minutes)
1-1
Remove the battery cover assembly. (Fig.1)
1-2
Remove the nine (9) screws marked [360] and three
(3) screws marked [370]. The lower case assembly
can then be removed. (Fig.1)
<Bottom view>
Battery cover assembly
(バッテリーカバーAss'y)
[360]
[360]
[360]: Bind Head Tapping Screw-B (Bタイト+BIND) 3.0X12 MFZN2W3 (WE987400)
[370]: Bind Head Tapping Screw-B (Bタイト+BIND) 3.0X30 MFZN2W3 (WF491000)
2.
Spring Terminal
(Time required: About 2 minutes)
2-1
Remove the lower case assembly. (See procedure 1.)
2-2
Remove the connector assemblies BAT (red/black)
soldered to the spring terminals (+) and (–). (Fig.2)
2-3
Unhook two (2) each hooks (A) at the bottom of the
lower case assembly and pull out the respective
spring terminals. (Fig.3)
<Top view (Lower Case Assembly (下ケースAss'y)) >
Connector assembly
BAT (Red)
(BAT束線(赤))
Fig.2(図2)
8
[360]
[370]
[360]
Connector assembly
BAT (Black)
(BAT束線(黒))
1.
下ケース Ass'y
1-1
本体の底面を上にして、 バッテリーカバー Ass'y を
外します。 (図 1)
1-2
[360]のネジ9本と[370]のネジ3本を外して、 下ケー
ス Ass'y を外します。 (図 1)
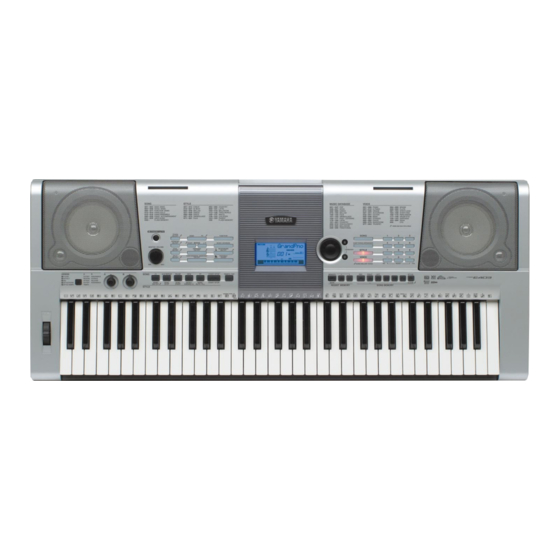
<Top view>
Rotary knob
(ロータリーノブ)
Speaker grille L
(SPグリルL)
Fig.1(図1)
2.
接点バネ
2-1
下ケース Ass'y を外します。 (1 項参照)
2-2
接点バネ(+)、 (−)に半田付けされているBAT束線
(赤/黒)を外します。 (図 2)
2-3
下ケース Ass'y の底側から各 2 箇所ずつフック(A)を
外し、それぞれの接点バネを引き抜きます。 (図 3)
Hook (A)
(フック(A))
(所要時間: 約 2 分)
Volume knob
Encoder knob
(Vツマミ)
(エンコーダツマミ)
Speaker grille R
(SPグリルR)
(所要時間: 約 2 分)
Hook (A)
(フック(A))
Spring Terminal
(接点バネ)
Fig.3(図3)