- ページ 14
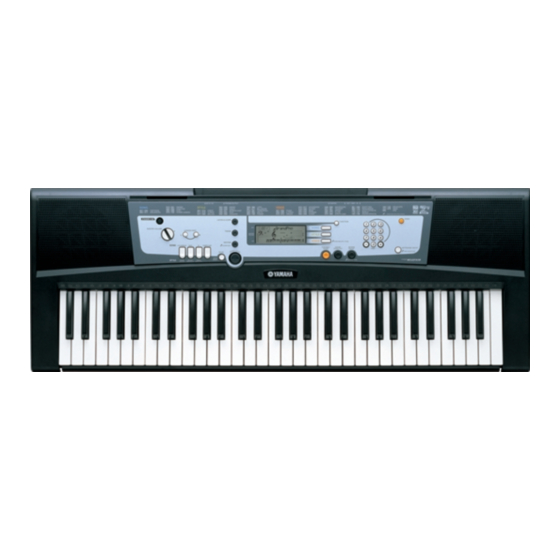
楽器 Yamaha Portatone PSR-E213のPDF サービスマニュアルをオンラインで閲覧またはダウンロードできます。Yamaha Portatone PSR-E213 37 ページ。

PSR-E213/YPT-210
9.
How to Remove Spring Terminals.
A
Spring Terminal A, Spring Terminal B
9-1
Remove the lower case keyboard assembly. (See pro-
cedure 5)
9-2
Remove the keyboards from C1 to B2. (See procedure 6)
9-3
Remove the battery connector assembly soldered to the
spring terminal A and spring terminal B. (Fig. 7, Photo. 3)
9-4
Reverse the lower case keyboard assembly and remove
the battery lid assembly. (Fig. 8)
9-5
Lift the spring terminal A slightly and slide it rightward to
remove it. (Fig. 9)
9-6
Remove the hook for the spring terminal B to pull it out
from inside. (Fig. 9)
B
Spring Terminal C, Spring Terminal D
9-1
Remove the battery lid assembly at the bottom side of
the lower case keyboard assembly. (Fig. 8)
9-2
Remove the hooks to pull out the spring terminal C and
spring terminal D. (Fig. 9, Fig. 10)
•
Top view (上から見た図)
Soldering
Soldering
(半田付け)
(半田付け)
Fig. 7 (図 7)
Bottom view (下から見た図)
•
Lower Case Keyboard Assembly
(下ケース鍵盤Ass'y)
Fig. 8 (図 8)
14
Battery Connector Assembly
(電池束線)
Battery Lid Assembly
(電池蓋Ass'y)
Spring Terminal C
(接点バネC)
9.
接点バネの外し方
A
接点バネA、接点バネB
9-1
下ケース鍵盤Ass'yを外します。 (5項参照)
9-2
C1∼B2の鍵盤を外します。 (6項参照)
9-3
接点バネA、接点バネBに半田付けされている電池束線
を外します。 (図 7、写真 3)
9-4
下ケース鍵盤Ass'yを裏返して、電池蓋Ass'yを外しま
す。 (図 8)
9-5
接点バネAは、上に少し引き上げ、右上にスライドして
外します。 (図 9)
9-6
接点バネBは、フックを外して、内側から引き出しま
す。 (図 9)
B
接点バネC、接点バネD
9-1
下ケース鍵盤Ass'y底面側の電池蓋Ass'yを外します。
(図 8)
9-2
フックを外して、接点バネC、接点バネDを引き出しま
す。 (図 9、図 10)
Spring Terminal B
(接点バネB)
Battery Connector Assembly
Spring Terminal A
(接点バネA)
Hook
(フック)
Spring Terminal C
(接点バネC)
Hook
Hook
(フック)
(フック)
Fig. 10 (図 10)
Spring Terminal A
(接点バネA)
Soldering
(半田付け)
(電池束線)
Photo. 3 (写真 3)
Spring Terminal D
Spring Terminal B
(接点バネD)
(接点バネB)
Hook
(フック)
Fig. 9 (図 9)
