- ページ 4
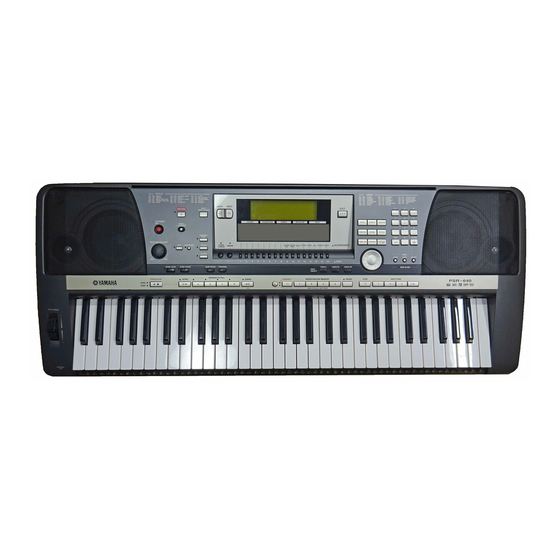
電子キーボード Yamaha PortaTone PSR-740のPDF ステップ・バイ・ステップの手順をオンラインで閲覧またはダウンロードできます。Yamaha PortaTone PSR-740 21 ページ。
Yamaha PortaTone PSR-740 にも: サービスマニュアル (18 ページ)

i) Press the [BACK] button 3 times and proceed to step 7.
6) Press the [NEXT] button.
7) Press the [+] or [-] button to select 'Record'.
8) Press the [NEXT] button. The screen will display 'Section=Main A'.
9) Press the [+] or [-] button to select one of the Accompaniment Sections,
'MAIN A/B/C/D, FILL IN A/B/C/D, SMPL ENDING, or ENDING'.
10) Press the [NEXT] button.
11) Press the [+] or [-] button to select one of the Accompaniment Tracks,
'RHYTHM MAIN, RHYTHM SUB, BASS, CHORD 1, CHORD 2, PAD,
PHRASE 1, or PHRASE 2.
12) Press the [NEXT] button.
NOTE: Style Tracks, 'BASS, CHORD 1, CHORD 2, PAD, PHRASE 1, and
PHRASE 2' must be played in the key of C, in order for the Tracks to
transpose correctly when played as a PSR640/740 Style. This means that
the pattern must use only the chordal tones of C Major 7, (C, E, G and B).
However, these tones can be used in any octave.
13) If necessary, select the Voice or Drum Kit to use for the Recording.
a) Press the silver [VOICE R1] button, above the Data Dial.
b) Use the Numeric Keypad to select a desired Voice or Drum Kit.
c) Press the blue [EXIT] button.
14) If necessary, activate the Metronome:
a) Press the silver [FUNCTION] button, above the Data Dial.
b) Press the [+] or [-] button until the screen displays 'F4 Utility'.
c) Press the [NEXT] button.
d) Press the [+] or [-] button to select 'Metronome'.
e) Press the [NEXT] button.
