- ページ 3
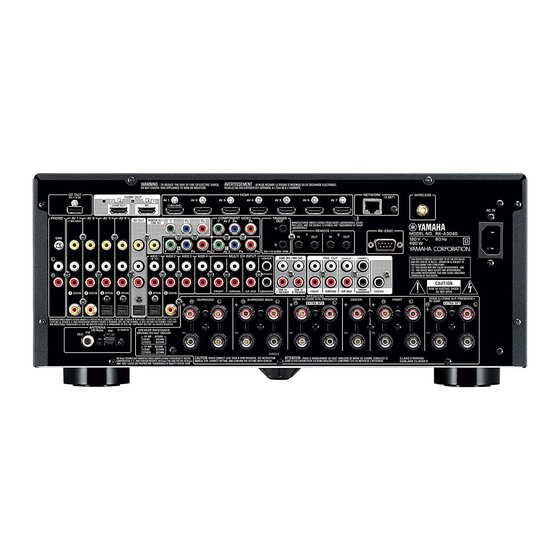
レシーバー Yamaha Aventage RX-A2040のPDF クイックマニュアルをオンラインで閲覧またはダウンロードできます。Yamaha Aventage RX-A2040 8 ページ。 About dolby atmos
Yamaha Aventage RX-A2040 にも: セットアップマニュアル (2 ページ), 追加情報 (8 ページ), 簡単セットアップマニュアル (2 ページ)

SOURCE
SOURCE
RECEIVER
RECEIVER
AV
AV
1
1
2
2
3
3
4
4
5
5
6
6
7
7
V-AUX
V-AUX
AUDIO
AUDIO
1
1
2
2
3
3
4
4
PHONO
PHONO
MULTI
MULTI
USB
USB
NET
NET
TUNER
TUNER
MAIN
MAIN
2 3 4
2 3 4
PARTY
PARTY
HDMI OUT
HDMI OUT
ZONE
ZONE
SCENE
SCENE
1
1
2
2
3
3
4
4
PROGRAM
PROGRAM
MUTE
MUTE
VOLUME
VOLUME
ON SCREEN
TOP MENU
TOP MENU
POP-UP/MENU
POP-UP/MENU
ON
OPTION
OPTION
SCREEN
Cursor keys
ENTER
ENTER
RETURN
RETURN
DISPLAY
DISPLAY
BAND
BAND
MODE
MODE
TUNING
TUNING
PRESET
PRESET
SUR. DECODE
SUR. DECODE
STRAIGHT
STRAIGHT
MOVIE
MOVIE
MUSIC
MUSIC
ENHANCER
ENHANCER
PURE DIRECT
PURE DIRECT
INFO
INFO
SLEEP
SLEEP
1
1
2
2
3
3
4
4
5
5
6
6
7
8
8
MEMORY
MEMORY
9
9
0
0
10
10
ENT
ENT
TV
TV
INPUT
INPUT
TV VOL
TV VO
L
T
TV CH
V CH
MUTE
MUTE
CODE SET
CODE SET
■ Zone2/Zone4 setup
Use the supplied remote control to set the Zone2/Zone4 function.
1
Turn on the unit and TV in the main zone.
2
Switch the TV input to display video from the unit.
3
Press ON SCREEN to display the on-screen menu
on the TV.
4
Use the cursor keys to select "Setup" and press
ENTER.
5
Follow the procedure below to set the Zone2 function.
Skip this step if you do not use Zone2.
a Use the cursor keys and ENTER to select "Speaker" → "Manual
Setup" → "Power Amp Assign".
b Use the cursor keys to select "9ch +1ZONE" and press ENTER.
c Press ENTER twice, use the cursor keys to select "Zone2", and
press ENTER again.
This sets the EXTRA SP 2 terminals to be used for Zone2
output.
d Press RETURN four times to go back to the top "Setup" menu
screen.
6
Follow the procedure below to set the Zone4 function.
Skip this step if you do not use Zone4.
a Use the cursor keys and ENTER to select "Multi Zone" → "HDMI
OUT2 Assign".
b Use the cursor keys to select "Zone4".
This sets the HDMI OUT 2 (ZONE OUT) jack to be used for
Zone4 output.
7
Press ON SCREEN to exit from the on-screen menu.
3
