- ページ 6
電動工具 Clarke 40 Piece CRT 40のPDF ユーザーマニュアルをオンラインで閲覧またはダウンロードできます。Clarke 40 Piece CRT 40 6 ページ。 40 piece rotary tool kit

4. Assembling Polishing Bob
•
Screw the Bob on to the mandrel firmly, but do
not overdo it.
5. Assembling Abrasive Bands
•
Slacken the screw on the end of
the Mandrel, and slide the
appropriate abrasive band on to
the rubber former, fully.
•
Tighten the screw to secure the
band to the former.
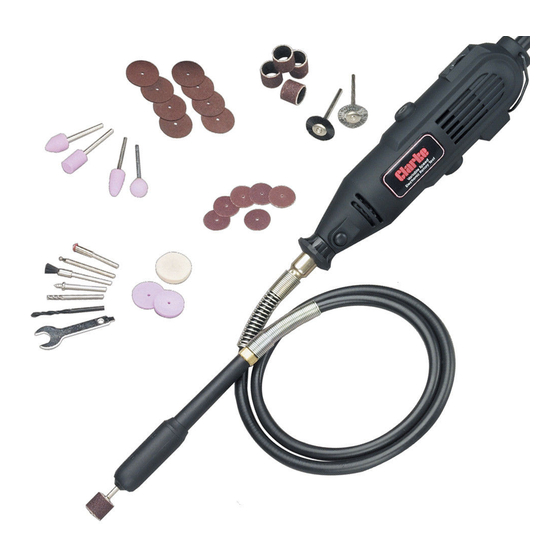
6. Attaching the Flexible Drive Assembly
•
Unscrew and remove the Securing Ring (3) and
retain.
•
Slacken the chuck using the spanner provided,
by pressing and holding the locking button (5).
•
Slide the flexible drive through the chuck and
into the collet, FULLY.
•
Hold back the Securing ring (3), whilst tightening
the chuck, thereby securing the flexible drive.
•
Screw the Securing Ring (3) on to the end of the
tool, taking GREAT CARE to ensure you do not
cross thread it.
•
At the opposite end of the Flexible Drive, insert
the mandrel of the tool to be used, into the
chuck.
To undo the chuck, pull back on the sleeve, in
the direction of the arrow, and hold back, to lock
the chuck so that the spanner may be used.
Insert the mandrel, fully, then retighten the
chuck.
Release the sleeve to releqase the chuck.
6
OPERATION
Assemble the tool as described previously.
Holding the tool firmly, and ensuring your fingers
are well away from the rotating parts, plug into
the mains and switch ON by pressing 'I' (A).
Adjust the speed according ot the job in hand, by
turning the adjuster 'B', using the tables below for
reference.
To switch OFF, press 'O' (A).
CAUTION! NEVER put the tool down until it has
stopped completely.
DO NOT use force when using this tool, a light pressure is all that is required.
REFERENCE TABLES
•
The following speeds are for guidance only.
•
DO NOT force the tool, apply a light pressure only.
•
ALWAYS wear safety goggles.
1. Grinding Stones
Material
Speed
Stone, Shell
1
Steel
5
Aluminium, Brass
2
Plastic
1
2. Polishing Bob
Material
Speed
Steel
5
Aluminium, Brass
3
Plastic
5
7
