- ページ 20
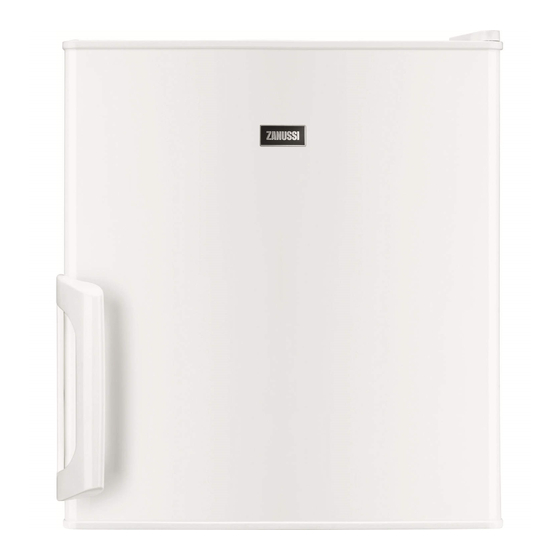
冷蔵庫 Zanussi ZRX51101WAのPDF ユーザーマニュアルをオンラインで閲覧またはダウンロードできます。Zanussi ZRX51101WA 44 ページ。
Zanussi ZRX51101WA にも: ユーザーマニュアル (42 ページ)

Ideally, however, the appliance should not be
positioned below overhanging wall units
Accurate levelling is ensured by one or more
adjustable feet at the base of the cabinet
It is advisable for there to be 75mm separating
the back of the fridge to the wall, at least 100mm
of space at its two sides, height of over 100mm
from its top and a clear space upfront to allow
the doors to open 160°
Door reversibility
WARNING!
Before carrying out any operations, re-
move the plug from the power socket
CAUTION!
To carry out the following operations, we
suggest that this be made with another
person that will keep a firm hold on the
doors of the appliance during the
operations
1. Remove the top hinge cover
2. Unscrew the 2 retaining screws, and remove
the hinge from the appliance
4
3. Take the door off
4. Unscrew the two screws fixing the lower
door hinge (there is a foot fixing on the
hinge, do not remove it from the hinge) Take
the door off
20
1
3
2
1
2
5. Then remove the left foot as shown in the
figure.
6. Fix the door hinge (with the original foot
on it) on the opposite side and then the
loosened foot at the former place as
shown in the figure.
Make sure to place the screws in the right
holes as shown in the figure.The edge of
the hinge is parallel with the side of the
cabinet
Please make sure to place the lower foot
below the door hinge. The lower foot is
recognizable by its 4 ribs on the outer
surface.
7. Fix the door onto the lower hinge pin
8. To fit top door hinge, remove the plastic
screw hole cover carefully, and refit them
in the holes left by the hinge retaining
screws
9. Refit the top hinge using the 2 retaining
screws, making sure that the edge of
the door is parallel with the side of the
cabinet
10. Replace the hinge cover
11. Relocate the handle and the plastic plugs
to the opposite side
1
WARNING!
Reposition, level the appliance, wait for
at least four hours and then connect it to
the power socket
1
2
3
www.zanussi.com
