- ページ 10
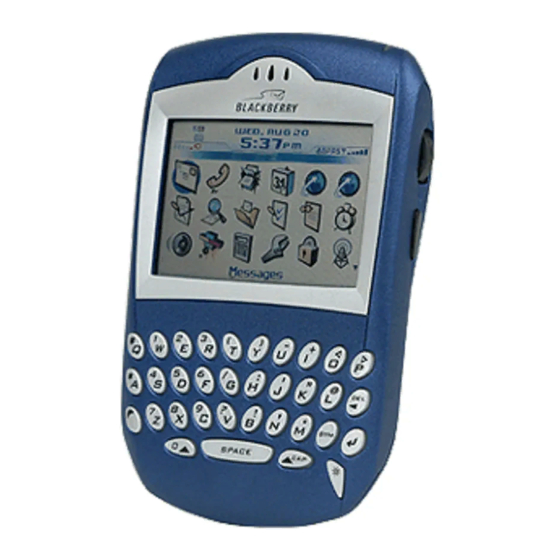
ハンドヘルド Blackberry 7520のPDF ユーザーマニュアルをオンラインで閲覧またはダウンロードできます。Blackberry 7520 14 ページ。 Blackberry 7510/7520 from nextel
Blackberry 7520 にも: 交換マニュアル (2 ページ), 安全性と製品情報 (10 ページ), スタートマニュアル (12 ページ), スタートマニュアル (27 ページ)

BlackBerry User Guide
6. Click the track wheel.
7. Rotate the track wheel to select Send.
8. Click the track wheel.
Deleting E-mail
The BlackBerry has only a limited amount of memory, so e-mail should be deleted from it regularly.
When you manually delete e-mail from the BlackBerry, however, you don't have to delete it from the
server. You can set the BlackBerry to prompt you about deleting from the server, or to take automatic
action.
1. Click the NotifyLink application icon.
2. Click again, to open the application menu.
3. Scroll down to Account Settings, and click it.
4. Scroll to Sync Deletes and click the setting that is active (Yes, No, or Prompt).
5. Scroll to Change Option, and click it.
Click Yes to always delete e-mail from the server when you delete it from the
BlackBerry
Click No to never delete e-mail from the server when you delete it from the BlackBerry.
Click Prompt to always be asked whether to delete from the server.
6. Press the Escape button once. You will be asked to Save or Discard your changes. Click Save
to lock in the change.
Sent Item Messages
When the BlackBerry is configured,
a folder named Mobile Sent will be
created in the user's regular
GroupWise account. This folder is
meant to hold the messages that
are sent from the BlackBerry. These
messages will not appear in the
normal GroupWise Sent Items
folder.
Depending on the amount of email
sent from the BlackBerry device,
these messages can accumulate
quickly. Unnecessary messages
should be deleted from this folder an
a regular basis.
Note: If the user does not want to
keep any of the Sent Item
messages, a GroupWise rule can be
created to delete all messages in
the folder when the folder is opened.
This must be performed periodically
depending on how many emails the user sends from their device.
1. Start GroupWise on your workstation.
2. Click Tools | Rules | New.
3. Create a rule that matches the one shown on the right.
4. Click OK and Save
5. Highlight the Rule and drag it to the top of the list. Verify that there is a check mark in the box.
6. Click Close.
Page 10 of 13
