- ページ 2
サンダー Clarke EZ SandのPDF ハウツーをオンラインで閲覧またはダウンロードできます。Clarke EZ Sand 2 ページ。 Orbital sander

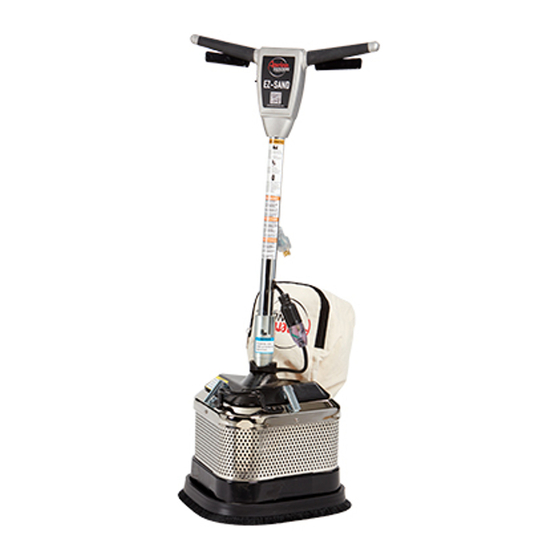
EZ-Sand Orbital Sander
CAUTION: Damage to the
grip face on the driver pad
will occur if the machine is
operated without a pad or
with a pad that is ripped or
torn. Damage to the grip
face of the pad will occur if
the machine is operated
without installing
sandpaper.
WARNING: Never put
yourself or let others be in
a position to get injured if
the machine should tip or
fall while replacing the pad
or changing abrasive.
Injury can occur if the
machine is connected to a
power source while
installing the pads or the
sandpaper. Disconnect the
machine before installing
the pad/sandpaper.
Questions or Problems?
Contact Clarke
Technical Service at
800-356-7274.
Need more
information?
The instructions on this
sheet are abbreviated
instructions only and are
provided solely as a
customer service. They
are not meant to replace
the tool's operation
manual. If you are
unsure of the tool's safe
and proper operation,
please request an
operator's manual from
one of our sales
associates.
Step
a.)Press the pad(s) against the grip
face until the hooks in the driver
have set into the pad (see figure 4).
5
b.) Return machine to the upright
position.
To prepare the machine for use with the included dust bag
follow this procedure:
a.) Install the dust bag by pressing the end onto the exhaust
tube until the ring locks into the groove.
6
b.) To remove the dust bag from the exhaust tube, pry up the
end of the bag opening to partially release the internal rib from
the groove, then pull.
c.) To empty the dust bag, unzip the disposal flap and force
contents out by inverting the bag.
NOTE: For best results, empty frequently. Follow all warnings
posted in this manual and on the dust bag.
Follow this procedure for sanding floors:
a.)Move machine to work location. Decide the best approach to
7
sanding the desired area.
b.)When sanding the area, work so that you are moving away
from the power supply. This will help to avoid entanglement with
the power cord and reduce the need to move the power cord as
frequently.
Install the sandpaper. Use the same procedure outlined in
MACHINE SETUP for installing the pad(s), to install the
8
sandpaper. The sandpaper uses a hook and loop system which
is identical to how the pads attach to the drivers. Center the
sandpaper over the pad and press it against the pad until the
hooks on the pad have set into the sandpaper.
a.)While holding the handle, reach
down and slide the knurled locking
collar up the handle tube and hook
it to the pin in the tube by rotating it
(see figure 5).
9
b.)Lower the handle down to a
comfortable position.
c.)To run the machine, push the
interlock button (1), and apply
pressure to the levers (2).
d.)To stop the machine, release the
levers (2). See figure 6.
Note: Empty the filter bag frequently to prevent a fire hazard.
Check the bag periodically to make sure it does not fill
up. Never leave the sander unattended without emptying
the bag first.
Action
Figure 4
Figure 5
Figure 6
