- ページ 4
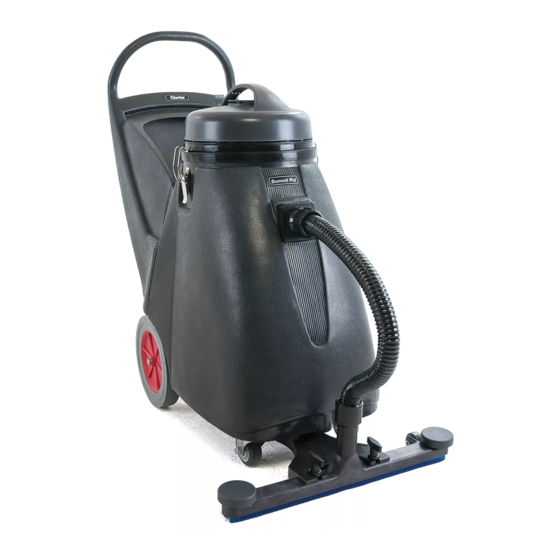
フロアマシン Clarke Summit Pro 18SQのPDF 取扱説明書をオンラインで閲覧またはダウンロードできます。Clarke Summit Pro 18SQ 20 ページ。 Summit pro 18sq

A - ENGLISH
OPERATION OF WET & DRY VACUUM
READ OPERATORS MANUAL THOROUGHLY PRIOR TO OPERATING OR SERVICING THIS MACHINE.
WET PICKUP
1.
Remove vacuum head and remove the cloth or paper fi lter from vacuum, install the bubble buster.
2.
While vacuum head is removed, check to make sure that the fl oat shut-off is unobstructed and fully functional.
3.
Replace vacuum head and latch it in place.
4.
Connect vacuum hose to inlet on the machine body.
5.
Attach appropriate accessory tool for the job to be completed.
6.
Plug power cord into a grounded outlet.
* Do not use an extension cord in conjunction with the standard power cord.
7.
If using the front-mounted squeegee assembly, be sure that squeegee is attached to front of machine.
8.
If using the front-mounted squeegee assembly, lower squeegee to the fl oor by depressing the top half of the pedal (rear of the machine)
forward with your foot.
9.
Turn power switch to "on" position.
10. During wet pickup, the fl oat shut-off will automatically prevent water from entering the recovery tank once the recovery tank is full.
* If foam develops in the recovery tank during wet vacuuming, use de-foamer chemical to help eliminate the foam. Foam will not activate
the fl oat shut-off, and therefore, may cause vacuum motor damage.
11. To raise the squeegee assembly back to transport position, depress the bottom half of the pedal [rear of the machine] downward with your
foot.
* Be sure that the handle is properly assembled on machine body prior to operating machine.
* This wet –dry vacuum includes the GV25014"bubble buster" blue nylon foam suppression bag. This bag must be used in all wet pick-
up applications. Failure to use the bag will void the warranty on the vacuum motor.
DRY PICKUP
1.
Remove vacuum head and bubble buster, and be sure the cloth or paper fi lter is properly installed.
* Do not operate machine without bag or fi lter properly installed.
2.
Replace vacuum head and latch it in place.
3.
Connect vacuum hose to inlet on the machine body.
4.
Attach appropriate accessory tool for the job to be completed.
5.
Plug power cord into a grounded outlet.
* Do not use an extension cord in conjunction with the standard power cord.
6.
Turn power switch to "on" position.
7.
Check the fi lter bag periodically to see if it is full. For optimal performance, replace bag when it is 3/4 full.
DRAINING THE RECOVERY TANK
1.
Unplug machine from power outlet.
2.
Transport machine to nearest fl oor drain or bucket.
3.
Remove drain hose from rear of machine. Remove ball plug from drain hose, and drain the contents of the tank.
4.
After the contents have drained, remove the vacuum head and rinse recovery tank with clean water.
5.
Replace the ball plug on the drain hose and hang hose back on the rear of the machine.
* To prevent odors in the recovery tank, remove the vacuum head when machine is not in operation to allow air to circulate.
A - 4
INSTRUCTIONS FOR USE
Summit Pro 18SQ - 56091118
12/13
