- ページ 4
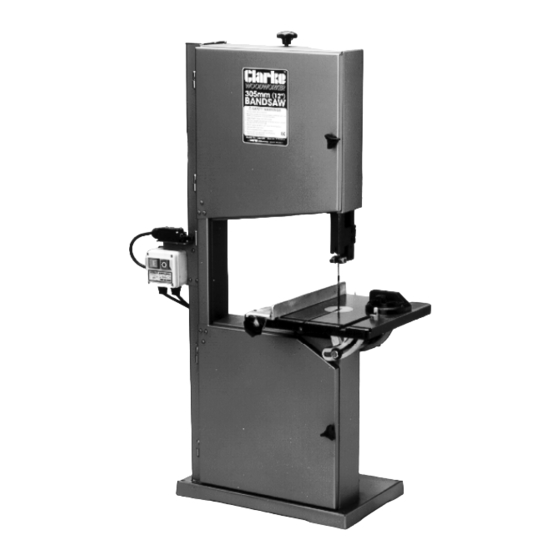
ソウ Clarke Woodworker CBS12WCのPDF 取扱説明書をオンラインで閲覧またはダウンロードできます。Clarke Woodworker CBS12WC 17 ページ。 12”(305mm) & 14”(355mm)

ADDITIONAL SAFETY RULES
FOR BANDSAWS
Use a Push Stick or scrap of wood to do the
•
pushing and guiding, when sawing small pieces
which require the fingers to be close to the blade.
Set the blade guide block assembly as close as
•
possible to the workpiece.
Switch off the saw, and make sure the blade has
•
come to a complete stop before clearing sawdust
or off-cuts from the table.
•
Keep the saw properly adjusted, paying particular
attention to the blade tension and tracking, and
position of the blade guides.
Disconnect the saw from the mains supply before
•
removing the front cover.
Make sure there are no nails or foreign objects in
•
the part of the workpiece to be sawn.
Be extra cautious with very large or small, or
•
irregularly shaped workpieces.
Set up the machine and make all adjustments with
•
the power OFF.
i.e.
Tilting the table,
Adjusting the saw blade guard
Adjusting the saw blade guides
Adjusting the Blade tension
Adjusting the Blade tracking, etc.
DO NOT operate the machine with the covers off.
•
They must all be in place and securely fastened
when performing any operation.
When cutting large or oversize stock, always
•
ensure the material is supported at table height.
•
Any adjustable component must be securely
locked in position to ensure it cannot vibrate free
during operation.
•
When sawing curves, make relief cuts to allow
removal of scrap material. This will prevent undue
twisting or binding of the saw blade. Make the
relief cuts before starting the curved cut.
•
When sawing, hold material firmly, and feed into
blade at a moderate speed.
•
Be sure to use the correct blade size and type.
• DO NOT saw any material that does not have a
flat surface on which
to bear, unless a
suitable support is
used. Round or
tubular work has a
tendency to roll, and
causes the blade to
'bite'.
Do not cut unless it is securely clamped or blocked.
• Ensure the bandsaw is permanently and securely
fixed in position before operating.
ELECTRICAL INSTALLATION
Connect the mains lead to a standard, 230 Volt (50Hz)
electrical supply through an approved 13 amp BS
1363 plug, or a suitably fused isolator switch.
WARNING! THIS APPLIANCE MUST BE
IMPORTANT: The wires in the mains lead are
coloured in accordance with the following code:
Green & Yellow - Earth
As the colours of the flexible lead of this appliance
may not correspond with the coloured markings
identifying terminals in your plug proceed as follows:
Connect GREEN & YELLOW coloured cord to
terminal marked with a letter "E" or Earth symbol
"
" or coloured GREEN or GREEN & YELLOW.
Connect BROWN coloured cord to plug terminal
marked with a letter "L" or coloured RED.
Connect BLUE coloured cord to plug terminal
marked with a letter "N" or coloured BLACK.
If this appliance is fitted with a plug which is moulded
on to the electric cable (i.e. non-rewirable) please note:
1. The plug must be thrown away if it is cut from the
electric cable. There is a danger of electric shock
if it is subsequently inserted into a socket outlet.
2. Never use the plug without the fuse cover fitted.
3. Should you wish to replace a detachable fuse
carrier, ensure that the correct replacement is
used (as indicated by marking or colour code).
4. Replacement fuse covers can be obtained from
your local dealer or most electrical stockists.
5. The fuse in the plug must be replaced with one of
the same rating (13 amps) and this replacement
must be ASTA approved to BS1362.
Important: If a cable extension is needed, it is
essential to comply with the following data.
Voltage
Extension length Cable Section
230v
Up to 20m
230v
From 20 to 50m
4
EARTHED
Blue - Neutral
Brown - Live
2.5mm
4mm
2
2
