- ページ 7
ツール Clarke CONTRACTOR 6462121のPDF 取扱説明書をオンラインで閲覧またはダウンロードできます。Clarke CONTRACTOR 6462121 10 ページ。 Hinge jig

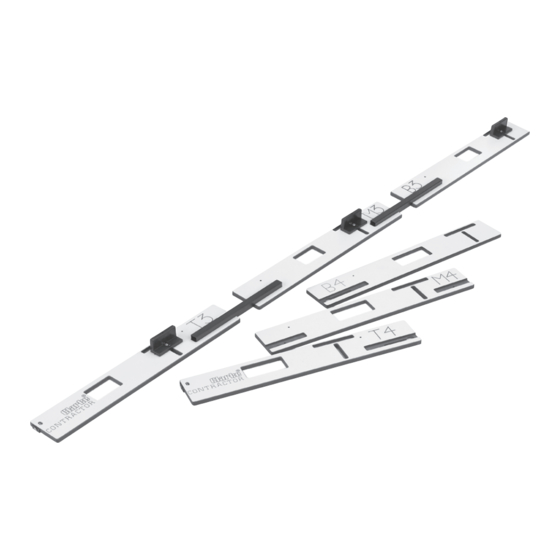
5. Attach the middle plate to the top plate as described on page 4, DO NOT tighten
wing screw at this stage.
6. Attach the bottom plate to the middle plate, adjust the bottom plate so that it is flush
with the end of the door, tighten the wing screw and secure to the door with 'G' clamp
(Fig. 7a and 7b). Ensure clamp does not obstruct router path.
7. Adjust the middle plate so that the middle aperture is in the centre of the door, (Fig. 8)
tighten the wing screw and secure to door with 'G' clamp. Ensure clamp does not
obstruct router path.
8. Ensure all wing screws and 'G' clamps are tight, check aperture positions are correct
and adjust if necessary. Ensure the door is firmly supported, i.e. using folding work bench
or similar.
Routing Hinge Recesses In The Door.
Assemble and adjust router as follows (always refer to manufacturers instructions).
1. Remove all attachments if fitted, i.e. fence guide etc.
2. Fit 16mm guide bush.
3. Fit ½" (12.7mm) router cutter.
4. Attach dust/chip extractor.
5. Adjust the depth of cut just slightly deeper than the hinge thickness.
6. Position the router on the jig with the guide bush inside one of the apertures.
7. Holding the router with both hands, ensure it is sitting flat on the jig. Switch ON and
plunge to the preset depth, move the router in a clockwise direction allowing the
guide bush to follow the jig aperture until the recess is completely cut out.
8. Square off the corners with a sharp chisel.
9. Repeat steps 6,7 & 8 for other two recesses.
NOTE: If only fitting, top and bottom hinges, DO NOT rout out the centre aperture.
Fig. 8
-6-
