12
Part I
Using the Nikon D200
Although you may have reviewed your
D200's buttons and wheels in the manual,
this chapter's illustrations are designed to
help you sort through the D200's features
and controls quickly, especially when you're
out in the field taking photos.
This chapter concentrates on the buttons,
dials, and other controls that you can access
directly, without visiting menus. Some of the
settings discussed in this chapter, such as
flash options or white balance, are dupli-
cated in the menus or have additional
options available from the menus.
This chapter does not cover the
D200's
options. To learn more about
the menu and setup options,
see Chapter 2.
Up Front
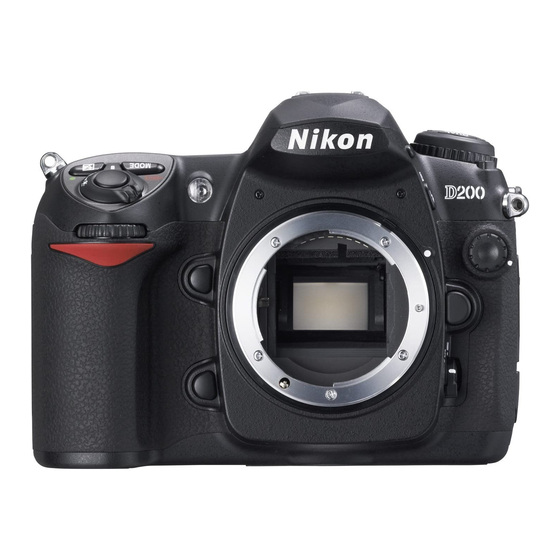
The front panel of the Nikon D200 is shown
in figure 1.1. You can't see all the buttons
and controls from a straight-on perspective,
so I'll show you separate, three-quarters-
view looks at each half of the front of the
camera, which I've color-coded green (the
left side of the camera when looking at it
head-on) and red (the right side of the cam-
era as seen from this angle).
1.1
The "business end" of the Nikon D200.
menu
and
setup
Most of the controls on the D200 are acti-
vated with the left hand. However, there are
a few controls within the reach of your right
hand's digits, as shown in figure 1.2. These
controls and features include the following:
Handgrip. The grip is the housing
for the D200's battery, and also
serves as a comfortable handhold
for your fingers. You can hold the
grip for both horizontal and vertical
photos, but many D200 owners
prefer using the grip on the
optional vertical grip/battery pack,
the Nikon MB-D200 Multi-Power
Battery Pack, which enables you to
use two batteries at once.
Depth-of-field preview. This is
the upper button (see figure 1.2)
next to the lens mount. Press and
hold the depth-of-field preview
button. The lens stops down to the
taking aperture, the view through
the finder might dim a little (or a
lot), and you can see just how
much of the image is in focus.
Func button. This is a button that
you can define to provide the func-
tion of your choice. The available
options (described in more detail
in Chapter 3) include activating
matrix, center-weighted, or spot
metering; or turning the flash off.
This button is also used with the
FV lock to emit a preflash before
locking the flash exposure.
Sub-command dial. This is a sec-
ondary control dial used to supple-
ment the main command dial on
the back of the D200. It's used
when you can apply two different,
related settings, as in Manual
exposure mode when you set the
shutter speed using the main com-
mand dial and adjust the aperture
using the sub-command dial.

