- ページ 9
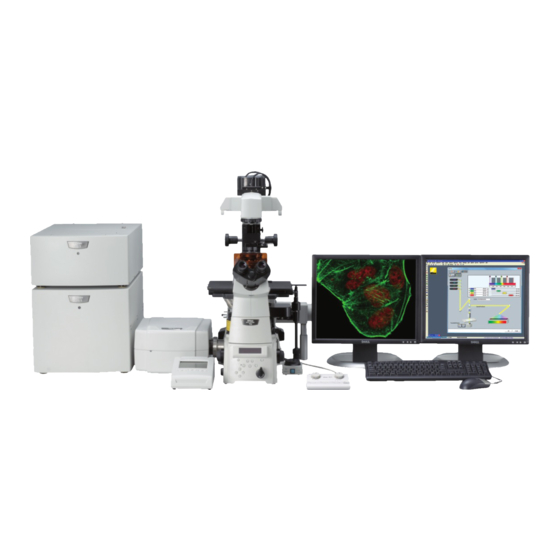
顕微鏡 Nikon A1+のPDF ユーザーマニュアルをオンラインで閲覧またはダウンロードできます。Nikon A1+ 28 ページ。 Lbic nikon confocal
Nikon A1+ にも: 標準業務手順書 (15 ページ)

Pre-scan acquisition settings
*Consult the labelled diagram of the A1Plus Compact GUI (page 10) if you're not sure
where any of the buttons mentioned below are
1. Before you can scan with the lasers you have to remove the laser interlock by
pressing the red "Remove Interlock button".
2. The scan direction buttons indicate unidirectional and bidirectional scanning. When
bidirectional mode is selected the image acquisition frame rate doubles. Only
consider bidirectional mode when carrying out a live cell experiment.
3. Select an image size (e.g. 512x512 pixels in xy). The size affects the xy image
sampling with larger sizes resulting in smaller um/pixel values and thus better
spatial resolution but the scan time is also increased. The most commonly used
sizes are 512 or 1024.
4. Now choose a scan speed, start by selecting the lowest number when the control
by "Pixel dwell" option is enabled. Higher values represent a longer pixel dwell and
hence a slower scan. You may need to use a slower scan speed if your signal is
low but this could
increase the
photobleaching rate.
5. Ensure that the "Normal" and "Ch Series" buttons are enabled (green).
Channel Series enables sequential scanning mode which means only one
laser is scanning at any particular time. If Channel Series is turned off then
all lasers scan simultaneously which can lead to fluorescence crosstalk
where emission from one fluorophore is detected by more than one detector.
6.
Press the "Optimal Pinhole" button, this sets the detection pinhole to a diameter that
gives the best compromise between light throughput, noise and resolution. Closing
the pinhole results in a thinner optical
section and better lateral and axial
resolution due to rejection of out of focus
light.
9
