- ページ 21
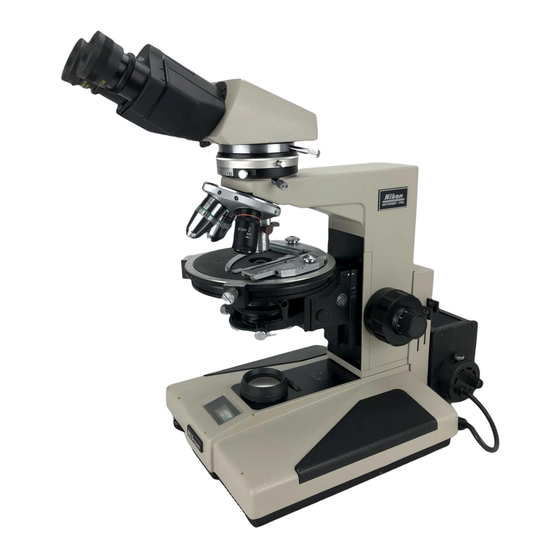
顕微鏡 Nikon OPTIPHOT-POLのPDF 取扱説明書をオンラインで閲覧またはダウンロードできます。Nikon OPTIPHOT-POL 28 ページ。 Polarizing microscope

Bottom
hemispheri-
cal lens
Fig. 38
Point-----
~~~:t~r
0~
Clamp screw
spring
,
L~L
nut
~I
Positioning pins
Attachable
I
mechanical
I' '
I
stage type E
I
,I
~o
Cgy
~
4)
For manipulation
and microscopy,
refer to
diascopic polarizing microscopy.
To attach the attachable stage on the graduated
stage, fit the two positioning
pins on the rear
side of the attachable stage into the two pin
holes on the graduated stage surface, and clamp
the screw using a driver or a coin.
Attachable
mechanical
stage is equipped with
point
counters,
whose
pitch
is O.2mm
or
O.3mm.
The counter
can be replaced
by
releasing
the head of the point
counter
by
means of a coin and removing the milled part
of the counter.
To release the click-stop
of the point counter,
release the click spring nut. (Fig. 38)
5.
Attachable
Mechanical Stage Type
Fig. 39
When using the universal stage, lower the sub-
stage beforehand
to face the wh ite dot.
with
the mark ~
T on the microscope stand, refer-
ring to P. 15 12).
For
using the
universal
stage, refer to the
separate instructions on "Universal Stage".
I
6.
Universal Stage
Fig. 37
3) Objectives
Use the objectives CF M Plan Achromat
P
series (Strain-free, 210/45).
Dark cross image
2)
Preparation
(1) Centering the lamp
CD
Make certain that the optical- path change-
over knob is pushed to the limit.
~
Turn
ON the power switch on the trans-
former, set the voltage to 6V.
Q) If the L900C filter
is in the optical-path,
remove this.
@
Fully open the aperture diaphragm.
(5)
Place the ND filter on the stage and focus
on it using objective 10 X.
®
Remove
the
eyepiece
from
the
sleeve,
looking
into the exit pupil
of objective,
move the lamp housing back and forth to
form
a sharp image of the lamp filament
on the diffuser of exit pupil.
(J)
Manipulate
the lamp centering
screws to
center the filament image on the exit pupil.
®
Place the L900C filter.
If the image is found
too dark with
an
objective
of 40 X or higher, remove the
L900C filter.
(2) Orientation
of polarizer (intermediate
tube
"P" )
CD
Nearly focus on the ND filter on the stage
using objective 40X.
~
Set the polarizer graduation to "0 ".
Q) Remove one eyepiece from the observation
tubes.
Looking into the exit pupil of the objective,
rotate the polarizer rotation
ring to form
the dark cross image on the exit pupil.
(Refer to Fig. 37)
Note:
Take care not to touch the pola-
rizer rotation
ring while observing
the specimen, or the orientation
of the polarizer
will
get out of
order.
If it is touched by mistake, read-
just the orientation.
