- ページ 8
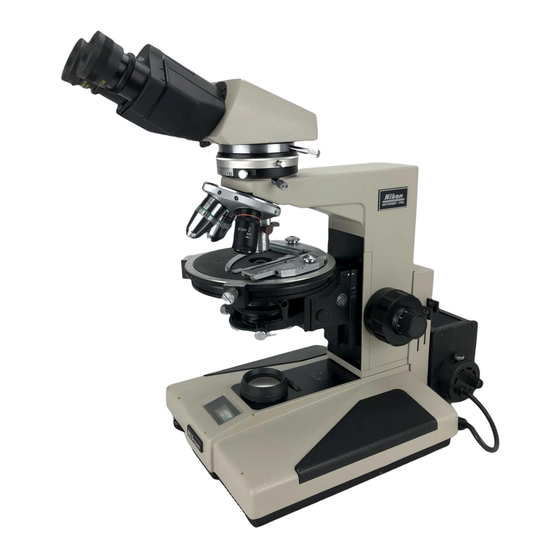
顕微鏡 Nikon OPTIPHOT-POLのPDF 取扱説明書をオンラインで閲覧またはダウンロードできます。Nikon OPTIPHOT-POL 28 ページ。 Polarizing microscope

III.
PREPARATION
Lamp housing
clamp screw
Filament
image
Condenser
aperture
diaphragm
Socket sleeve
clamp screw
Lamp vertical
centering ring
Lamp lateral
centering screw
/
Fig. 6
7)
Release the socket sleeve clamp screw (Fig.
6). Turning the lamp lateral centering screw
and vertical centering ring, bring the fila-
ment
image to the center,
as shown in
Fig.7.
Fig. 7
8)
As shown in Fig. 8, put the diffuser, with
its matte surface faced toward the micro-
scope stand,
into
the
filter
receptacle
which
is the closest to the microscope
stand.
Fig. 8
The above centering procedure should be car-
ried out, when replacing the lamp bulb.
Lamp housing
Lamp
centering
tool
1. Centering the Lamp
ND filter
1) Connect
the
power
source cord to the
socket.
2) Turn the brightness control dial to switch
ON and adjust
the voltage to 6 on the
indicator.
3) Place the specimen on the stage, and focus
on the specimen using
lOx
objective.
In
this case, open the condenser aperture and
field diaphragms to the largest extent.
4)
Roughly
center the condenser lens using
lOX
objective,
following
the procedures
given on P. 10- 6.
5) Put the lamp centering
tool on the field
lens and onto the tool place a NO filter.
(Fig. 4)
Fig. 4
6) Stop
down
the condenser aperture
dia-
phragm,
release the lamp housing clamp
screw, and move the lamp housing back
and forth (Fig. 5), until a sharp image of
the lamp filament
appears on the aperture
diaphragm
surface, which can be seen by
the reflection from the NO filter.
Fig.5
