- ページ 5
おもちゃ Blade mCP XのPDF 取扱説明書をオンラインで閲覧またはダウンロードできます。Blade mCP X 20 ページ。
Blade mCP X にも: 取扱説明書 (18 ページ)
Battery Charging
Celectra™ 1-Cell 3.7V Variable Rate DC Li-Po Charger
Instructions
1. Connect the power supply to an appropriate power
source.
2. I nsert the output plug from the power supply into
the power input slot of the Variable Rate Charger.
3. S elect the appropriate charge current for your
battery by pushing the + or -, which are the smaller
buttons to the right and left of the Start (middle)
button, (When charging your 200mAh battery, set
the charger to 0.7 amps).
4. C onnect the charge adapter to the Charger lead.
Match the red dots on both the charge adapter and
the Charger lead.
5. Properly connect the battery to the Charger lead. Match the red dots on both the battery and charger
connectors.
6. P ress the start button on the Variable rate charger to begin the charging process.
NOTICE: Only use the included charger.
CAUTION: NEVER attempt to power
the charger from an AC outlet without
the use of a proper AC to DC adapter/power
supply.
CAUTION: DO NOT connect charged
or discharged Li-Po batteries if the
power supply is connected to the charger
while the power supply is not connected to a
power source. Doing so will discharge and
possibly damage the batteries.
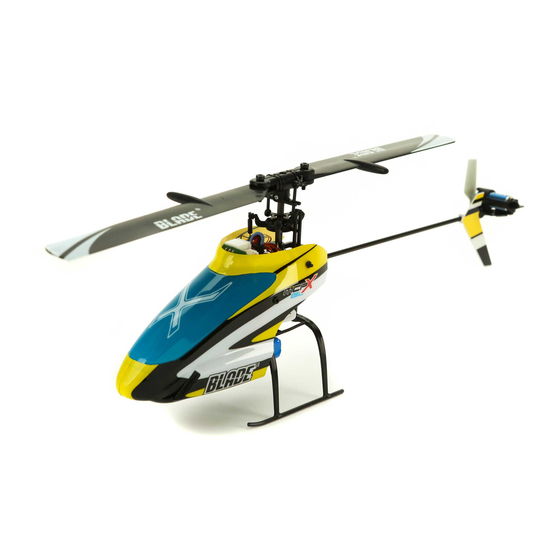
First Flight Preparation
• Remove and inspect contents
• Begin charging the flight battery
• Install the four AA batteries in the transmitter
(RTF ONLY)
• Install the blades appropriate to your flying style.
The Fast Flight Main Rotor Blade Set is best used
for outdoors or a smoother flying style. The
High-performance Main Rotor Blade Set is
intended for indoors or aggressive aerobatic
maneuvers
• Install the flight battery in the helicopter (once it
has been fully charged)
• Program your computer transmitter (BNF Only)
• Test the controls
• Familiarize yourself with the controls
• Find a suitable area for flying
LED functions under normal operation:
SINGLE SOLID LED
SINGLE LED FLASHING
MULTIPLE LEDs FLASHING
LEDs SWEEPING SIDE TO SIDE Charge Complete
Flying Checklist
❏ Always turn the transmitter on first
❏ Plug the flight battery into the lead from the
3-in-1 control unit
❏ A llow the 3-in-1 control unit to initialize and
arm properly
❏ Fly the model
❏ Land the model
❏ U nplug the flight battery from the 3-in-1
control unit
❏ Always turn the transmitter off last
5
Shows Charge Current
Charging
Charge Almost Complete
EN