- ページ 12
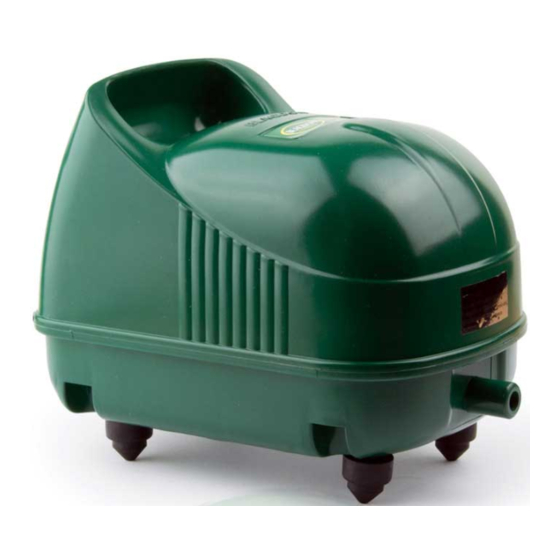
池のポンプ Blagdon Koi Air 50のPDF 取扱説明書をオンラインで閲覧またはダウンロードできます。Blagdon Koi Air 50 16 ページ。 Air pump
Blagdon Koi Air 50 にも: 取扱説明書 (9 ページ)

14
32/29
32/29
13
11
Replacing the Diaphragm
Step By Step guide for Koi Air 25
See replacing the flapper valves diagram (see section 9) for steps 1 to 4.
1. Remove the air filter cover part 1.
2. Remove the 4 screws from the air pump base part 7 and remove the lid. Check that the
cover lid seal part 5 remains in place.
3. Pull the L shape pipe parts 22 / 33 from the flapper valve chamber number 9.
4. Work on one outlet side of the pump at a time, remove the 4 screws from the valve
chamber part 9 and gently pull the part from the motor housing, this will expose the
diaphragm part 12 and diaphragm base ring part 13. See replacing the flapper valves
diagram (see section 9) for steps 1 to 4.
See above replacing the diaphragm diagram for steps 5 to 13.
5. Remove the small locating nut from the diaphragm front board part 11 and gently remove
the front board and the Teflon washer part 32 from the rubber diaphragm.
Ensure that all the parts from the diaphragm are kept together so that they can be clearly
identified when reassembling.
6. The diaphragm base ring part 13 can be used to pull the diaphragm from the magnet frame
part 15.
7. Remove the diaphragm part 12 from the base ring. Then remove the diaphragm backboard
part 14 and the Teflon washer part 32.
8. Place the new diaphragm into the base ring using the locating lugs and firm into place.
NOTE: It is essential that all the diaphragm parts are reassembled in the correct order or the
pump will not work effectively and may cause damage to the new parts.
9. Place the Teflon washer over the four pegs on the diaphragm backboard.
10. See locating backboard diagram above.
Place the four backboard pins into diaphragm on the side that has the raised circular area.
Ensure that the two vertical locating bars will line up with the locating lug on the magnet
frame part 15.
11. Place the Teflon washer onto the diaphragm front board part 11 and push the front board
onto the diaphragm locating it onto the four backboard pins. The smooth side of the front
board should be in contact with the washer and the diaphragm.
12. The diaphragm assembly can now be placed onto the thread from the magnet frame
ensuring that the backboard locating bars are lined up with the locating lug on the
10. MAINTENANCE
12
Replacing the Diaphragm
17
18
(
See Diagram)
12
29/32
14
15
Locating Backboard
11
29/32
13
