- ページ 3
アクセサリー AromaPlan DAP - 101NPのPDF 製品マニュアルをオンラインで閲覧またはダウンロードできます。AromaPlan DAP - 101NP 5 ページ。

I I I .
I n s t r u c t i o n
Approved Certificate: CE, FCC, RoHS, CNAS and so on.
Application Place: Brand clothing store, 4S shop, bar, clubhouse and so on.
I V .
How to use the equipament
VIDEO TUTORIAL -
How to install your AromaPlan Diffuser
https://youtu.be/hUPIElts7hE
V.Operation Introduction
1. APP Operation Introduction
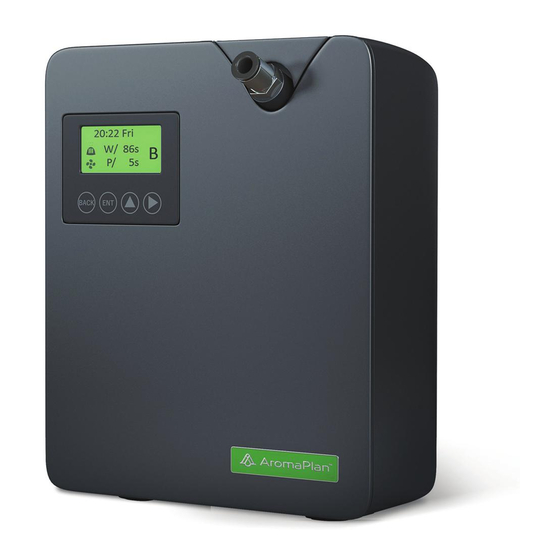
The device has four buttons :
"
" is the return button
"
" is the confirmation button,
"
" is the increasing button
and "
" is the shift button.
NORMAL WORKING INTERFACE
2. Buttons operation:
The device has four buttons:
1.Under the normal working interface, press "
enter the password setting interface.
Password: 0000
2.Under the normal working interface, press "
turn on/off the essential oil detection function.
3.Under the normal working interface, press "
level A, B and C.
4.Under the normal working interface, press "
enter local time setting interface.
5.Under the normal working interface, press "
frequency setting interface.
6.Under the normal working interface, long press "
7.Under the normal working interface, long press "
turn off the machine.
3. Factory Reset:
Under the normal working interface, firstly, press the "
same time until the interface
shows YES/NO, then let your hand go.
Secondly, operate "
" button to
choose YES
and finish the setting.
4. Configure your diffuser
1.Programming
Date/Time:
Programming your AromaPlan diffuser updating the
date and time is very simple.
After plugging in your machine you're going to press "
and "
" buttons at the same time to
update the time in a
24-hour format
you're first going to click the button "
in order to
adjust the hour
and then you'll go to the button
"
" to
update the minutes.
" and "
" buttons at the same time to
" and "
" buttons at the same time to
" button
to adjust the concentration
" and "
" buttons at the same time to
" button to
enter the working time and
" button to
turn on/off the fan.
" button to
" and "
" buttons at the
then press "
" button to
confirm it
DATE/TIME INTERFACE
"
"
