- ページ 2
コントローラー Balmar Max Charge MC-614-HのPDF 設置および操作マニュアルをオンラインで閲覧またはダウンロードできます。Balmar Max Charge MC-614-H 20 ページ。 Multi-stage voltage regulator
CAUTION: The following instructions are intended for use by experienced marine electrical installers.
If you are not experienced at installing electrical system components, we recommend the use of a
qualified marine electrical technician.
Regulator Installation
The following information is intended to provide the installer with the basic information required to complete
installation. This section of the installation manual will deal with mounting, wiring connections and basic
programming for battery type. Additional information regarding advanced programming adjustments and
troubleshooting are addressed later in the manual.
Unpacking the Box
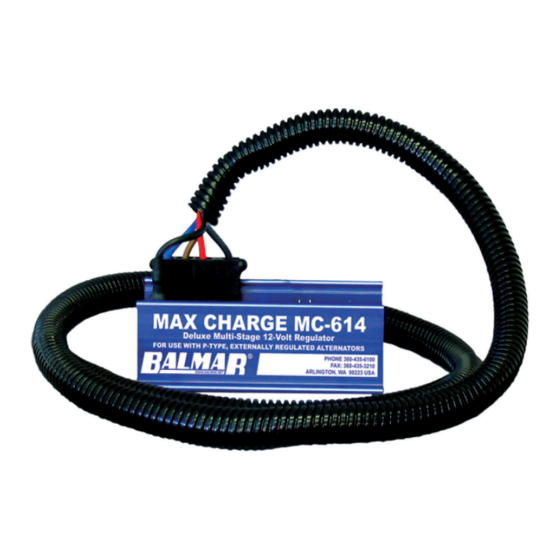
Your Max Charge MC-614-H regulator kit is packaged with the following
items:
•
Max Charge MC-614 Regulator
•
54" Wiring Harness
•
Fused (1A) Battery Sense Wire Pigtail
•
Magnetic Programming Tool
•
MC-614 Quick Start Guide
If any of the listed items is not included with your regulator kit, call our
customer service department at 360-435-6100. Please note - If your
regulator box is marked Max Charge MC-614, without the "H" designation
your kit will not include the wiring harness or fused battery sense pigtail.
Locate And Mount The Regulator
Choosing a mounting location for your voltage regulator should be determined based on the following factors;
distance from alternator, distance from inverters, transmitters and other sources of RF noise, convenient access
and readability of the display. The regulator wiring harness is 54 inches long, providing a three to four foot radius
for mounting. Ample airflow is essential for the regulator's proper operation. Ensure that the regulator is free from
obstructions that restrict air movement around or below the regulator's aluminum heat sink. While the regulator
is designed to operate safely in conditions typical of a marine engine compartment, the regulator may be better
protected, and easier to use and monitor if mounted outside of the engine compartment. The max operating
temperature is 90°C.
Should it be necessary to install the regulator further than 54" from the alternator, ensure that any wire extensions
are properly connected, as resistance in the harness wiring can affect charging efficiency. If harness length must
reach beyond approximately 8', replace the RED power and BLUE field wires with larger gauge wire that's sized to
ensure voltage drop < 3%.
Basic Wiring Installation
The regulator's wiring harness includes six wires required for standard installation. Four of those wires are
connected to the regulator via a Ford-style plug connector that's pre-installed on the regulator. These wires include
the Ground (BLACK), Power (RED), Ignition (BROWN), and Field (BLUE). Plug is shown at right.
In addition, the harness includes a separate Stator (WHITE) wire. The proper terminal connection points for this,
and additional wiring connections, are illustrated on the pin location legend shown and discussed on the following
pages.
www.balmar.net / Customer Service: +1 (360) 435-6100 x1 / Technical Support: +1 (360) 435-6100 x3
Tech Service is available Monday - Friday (8:30am - 7:30pm EST)
2