- ページ 6
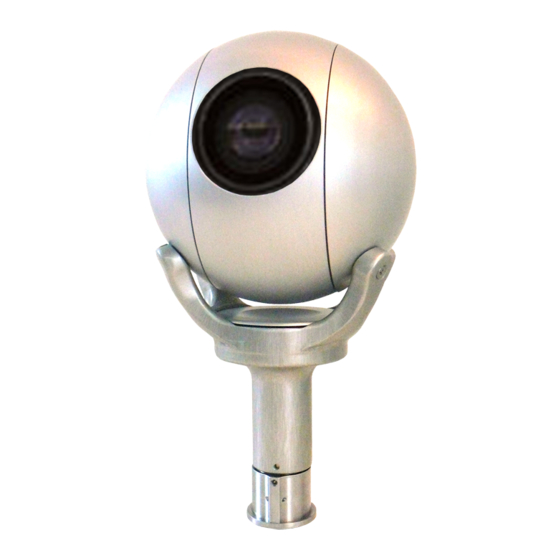
カラーカメラ Camera Corps Q-BallのPDF 操作マニュアルをオンラインで閲覧またはダウンロードできます。Camera Corps Q-Ball 9 ページ。 Camera corps q-ball robotic color camera

Q-Ball – Operation Manual
Appendix 'A' – CCU panel and Joystick panel settings
Note that the RCP panel should be selected to 'Sony' camera make, and 'Q-Ball' or 'Q-Ball IR' camera
type to control the Q-Ball. (Note that all Q-Balls are now IR capable).
For the older style CCU's select 'CC HDZ' as the camera type.
The Joystick panel should be set to 'Q-Ball' in the setup menu. Although not essential, set the baud rate
of the RCP to 2400 and the baud rate of the Joystick to 4800.
Appendix 'B' – Internal link settings.
There are three links on the inside of the V6 Interface boxes.
LK1 is used to change the group channel number setting when using the multi-camera control system.
With the link 'open' (default) the group numbers 0 – 3 are selected using DIP switches 1 & 2 on the front
panel.
DIP 1
DIP2
off
off
on
off
off
on
on
on
With link LK1 closed the group selection then provides groups 4 – 7 instead of 0 – 3.
LK2 is used to change the data input from the standard audio data to either RS232 or RS422 data.
LK3 selects between RS232 and RS422 data.
Note that only 9600 baud is available for these inputs.
Appendix 'C' – Removing the Interface Box lid.
To access the links, the lid of the interface box must be removed to access the PCB. First, remove the
power from the unit. Then remove the three nuts holding the BNC connectors on the rear of the unit. Now
remove the four cross head screws holding the rear plate and remove the rear plate with plastic surround.
Now loosen the two upper cross head screws on the front panel on the unit.
Now slide the lid of the box towards the rear until the two links become visible on the PCB.
To replace the lid simply reverse the above procedure.
Diagrams
The diagrams on the following pages show the overall wiring of the Q-Ball system and the setup menus
for the new style Universal RCP and the older RCP panel.
For full details of the operation of the RCP or Interface Box please see the relevant handbooks.
V6.3
GROUP(LK1 open)
0
1
2
3
Page 5 of 8
GROUP(LK1 closed)
4
5
6
7
2/2/2013
