- ページ 2
コンピュータ・ハードウェア ClearCube A1410のPDF クイック・スタート・マニュアルをオンラインで閲覧またはダウンロードできます。ClearCube A1410 2 ページ。 I/port
ClearCube A1410 にも: クイック・スタート・マニュアル (2 ページ), クイック・スタート・マニュアル (2 ページ), クイックスタート (2 ページ), クイック・スタート・マニュアル (2 ページ)
WEEE Disposal Guidelines
In the European Union, this electronic
product falls under the European Directive
(2002/96/EC) WEEE. When it reaches the
end of its useful life or is no longer
wanted, it should not be discarded with
conventional waste, but disposed of at an
approved designated recycling and/or
treatment facility.
Laws are different in each country, so
please check with your local authorities for
proper disposal instructions.
For assistance, contact ClearCube at
ClearCube Technology
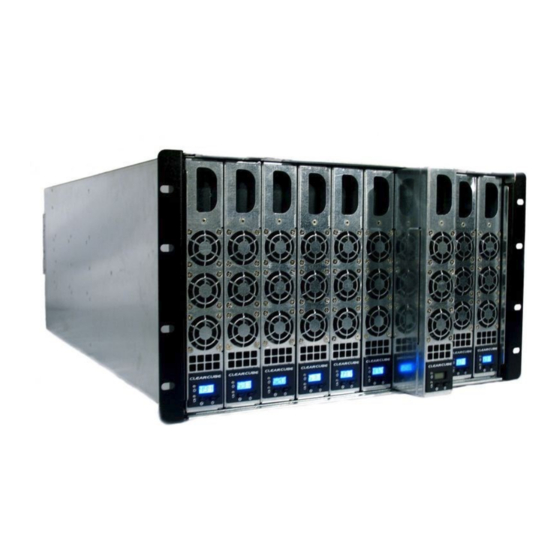
Removing and Installing Memory
DIMM
Removing Memory
1. Remove the blade from the chassis.
2. Place the blade on a flat surface. Remove the three 6-32 screws on the top
cover and remove the top cover.
3. Pull the latches on the sides of the memory socket away from the DIMM to
pop the DIMM out of the socket.
4. Hold the DIMM by the edges and remove it from the socket. Store the
DIMM according to the manufacturer's instructions.
You can now install new memory.
Installing Memory
To ensure memory compatibility, use only ClearCube-supplied memory.
Note:
1. Ensure that memory is removed as described above.
2. Ensure that the latches on the sides of the memory socket are pushed
outward, away from the socket.
3. Hold the DIMM by the edges and gently insert the DIMM into the socket.
Gently press down on the top edge of the DIMM until it snaps into place and
is fully seated. Ensure that the latches are engaged with the cutouts on the
sides of the DIMM.
4. Replace the top cover and replace the three 6-32 screws.
You can now return the blade to the A3100 chassis. See A–Series Setup and
Installation Guide for more information about the A1410 blade.
Email:
Web site:
RoHS
Toll-free:
Phone:
8834 Capital of Texas Hwy N
CAUTION: Some blade surfaces might be hot, especially
when the blade has been powered on. Remove and
handle the blade with care.
In any memory configuration, DIMM 0 of channel A must be populated.
support.clearcube.com
(866) 652-3400
(512) 652-3400
Austin, Texas 78759
voice 512 652 3500 www.clearcube.com
G0200096 Rev A