- ページ 4
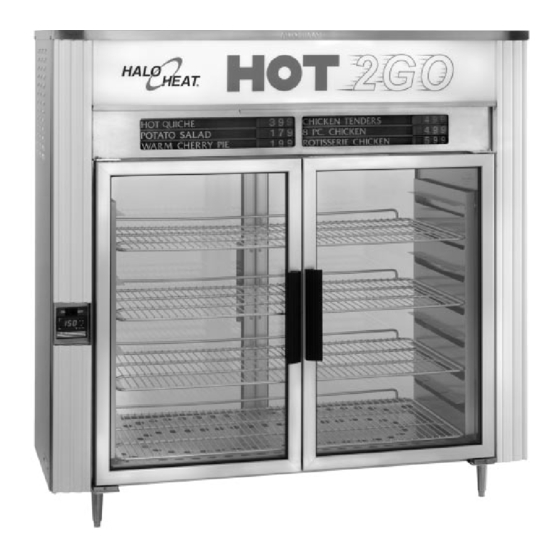
マーチャンダイザー Alto-Shaam HALO HEAT HOT 2GOのPDF 取扱説明書をオンラインで閲覧またはダウンロードできます。Alto-Shaam HALO HEAT HOT 2GO 13 ページ。 Hot merchandiser

1 0 0 0 - H M • O P E R A T I O N A L P R O C E D U R E S
Programming and Operating Thermostat Control
Turn Power On
Press the "ON" or "I" position of the
rocker switch to turn on control.
CHANGE SET-POINT TEMPERATURE
Press and hold the SET button for at least
SET
3 seconds. After L.E.D.1 indicator blinks, release
+
the Set Button. The control is now in the program-
ming mode. Press and hold the UP or DOWN
arrow rocker button to change the value shown in the
display. Store the value by pressing the SET button.
L.E.D.1
200
The new set-point value will flash three times
to confirm.
°F
CHAMBER
TEMPERATURE
L.E.D.
HEAT INDICATOR L.E.D.
The Heat Indicator L.E.D. will illuminate as the
warming chamber calls for heat. It will extinguish
when the warming chamber's interior temperature
reaches the set-point.
PREHEATING THE UNIT
Always preheat the unit at 200°F (93°C) for 30 minutes before
loading the merchandiser with hot food.
LOADING THE CABINET
Load the merchandiser with hot food only. The purpose of
this unit is to maintain hot food at proper serving temperature.
Use a food thermometer to make certain all food has reached
an internal temperature range of
140° to 160°F (60° to 71°C). Do not
fill cabinet closer than 2" from the
sensor. Make certain door is securely
closed after loading. Reset the control
to 160°F (71°C). This will not necessarily be the final
setting. Proper temperature range for the food being held will
depend on the type and quantity of product. It is advisable to
periodically check the internal temperature of each item to assure
maintenance of proper food serving temperature.
CAUTION
ELECTRONIC CONTROL ACCURACY
The electronic control is a precise instrument and is designed to
offer trouble-free service. If you suspect the temperature inside
the warming cabinet does not match the temperature indicated
on the digital display, after stabilizing, follow the instructions
listed below.
1. Make certain the power meets the requirements of the
appliance, voltage and current rating as indicated on
identification tag.
2. Verify the temperature inside the warming cabinet with a
quality thermal indicator.
A.
With the exception of the metal shelves, completely
empty the warming cabinet.
B.
Make certain the sensor, located inside the warming
cabinet at the ceiling, is completely clean.
C.
Suspend the thermal indicator in the center of the
warming cabinet.
D.
Allow the temperature, set on the electronic thermostat,
to stabilize for a minimum of one hour before compar-
ing the digital display with the reading on the thermal
indicator.
DO NOT OPEN THE CABINET DOOR(S) DURING THE
TEMPERATURE STABILIZATION PERIOD.
If the reading on the thermal indicator does not match the digital
display within 10°F (6°C), contact a qualified service technician
for appropriate action.
Operation & Care Manual #835 • 3.
The unit should be unplugged and a qualified
service technician should be consulted if any of
the following situations occur:
• The Heat Indicator L.E.D. does not illuminate
after normal start-up.
• The warming cabinet does not hold the
temperature as set.
• The warming cabinet fails to heat with the
L.E.D. illuminated.
• The cabinet heats continuously with the
control "OFF".
• Refer to Trouble Shooting Guide in this
manual.
