- ページ 4
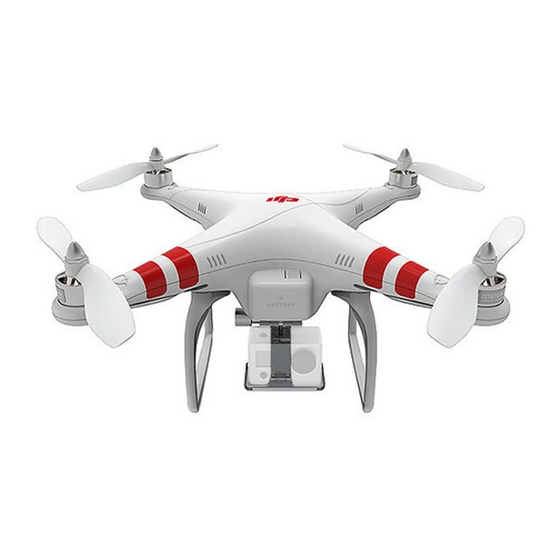
ドローン dji PHANTOMのPDF アドバンス・マニュアルをオンラインで閲覧またはダウンロードできます。dji PHANTOM 6 ページ。 Led indicator description & faq
dji PHANTOM にも: クイック・スタート・マニュアル (17 ページ), クイック・スタート・マニュアル (14 ページ), クイック・スタート・マニュアル (8 ページ), クイック・スタート・マニュアル (3 ページ), マニュアル (6 ページ), クイック・スタート・マニュアル (3 ページ), 取り付け (2 ページ)

A5
Transmitter Calibration
If the control mode of the transmitter is changed or calibration has not been carried out for a long time,
transmitter calibration is necessary.
IOC Switch
S2
OFF
CL
HL
Joystick
(
)
Pitch Mode1
/T
hrottle(
)
Mode2
Yaw
Power Switch
CL:Course Lock
HL:Home Lock
1.
Set the switch S2 at the OFF position, and the switch S1 at the GPS position
2.
Push the Throttle stick to the top position, and push the Pitch stick to the top position. Keep the Pitch
stick at the top position manually since it can return to the central position when released.
3.
Turn on the Power Switch of the transmitter, you should hear the indicator sound of "Di—Di Di" from
the transmitter repeatedly. Toggle the switch S2 to the CL position, you should hear an indicator
sound of "Di" from the transmitter, in this case, the transmitter has entered the calibration mode.
(During this period, the Throttle stick and the Pitch stick must be kept at the top position all the time.)
4.
Release the Pitch stick and pull the Throttle stick to the central position. Toggle the switch S1 to the
ATTI position; you should hear an indicator sound of "Di" from the transmitter. Then move all of the
sticks throughout their complete range several times. After this, put the Throttle stick to the bottom
position, and toggle the switch S2 to the HL position, you should hear an indicator sound of "Di" from
the transmitter, in this case, the transmitter has been calibrated successfully.
©2013
DJI Innovations. All Rights Reserved.
Control Mode Switch
S1
GPS
ATTI
ATTI
Joystick
hrottle(
)
T
Mode1
/
(
)
Pitch
Mode2
Roll
7 |
A6
Mount Camera and Camera Frame
Please mount the Camera and Camera Frame if necessary.
(1)Mount the Camera to the Camera Frame
(2)Mount the Camera and Camera Frame to the aircraft
Make sure to use the dedicated cross screws of the type M3.0*6, since an over long screw will puncture the
battery by passing through the battery compartment and could lead to explosion or fire.
©2013
DJI Innovations. All Rights Reserved.
8 |
