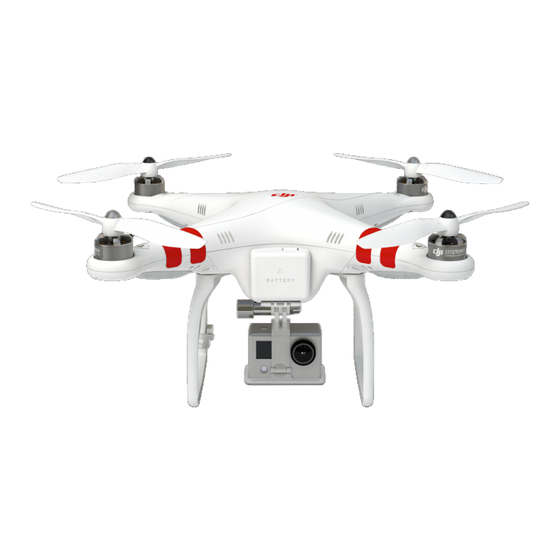
- 1. Basic Definitions
- 2. Assemble Quadcopter and Install Camera on FC40
- 3. Phantom Software Installation and Upgrading
- 4. USB and Battery Connection for Upgrades and Settings
- 5. Naza Asst.
- 6. One of Many Screens in the DJI NAZA Assistant Software
- 7. Calibrate the Compass
- 8. Landing
- 9. Orientation
- 10. Share this
DJI Phantom 1 & FC40 setup – Getting Started Guide
RTH – Return to Home – Failsafe programming of the Naza
ATTI – Altitude hold mode on the NAZA F/C – this does away with the use of the GPS and
gives you semi-manual control.
Assemble Quadcopter and Install Camera on FC40
Insert microSD card. Download the DJI app, turn on and connect to camera. Note – the plain
Phantom 1 does not come with a camera, so this step should be ignored for that model.
Charge the camera using the microUSB connector on it.
Here is a basic assembly video:
The propeller guards are a highly recommended accessory – especially for those without a lot
of Phantom experience.
NOTE: The FC40 will work and fly fine without the camera attached or turned on. Newbies
may want to start this way to avoid crashes which could damage the cam.
Phantom Software Installation and Upgrading
(for safety, do this with the propellers removed – see picture below)
Copyright - Droneflyers.com - 2016
