- ページ 3
スポーツ&アウトドア Do-All Outdoors CT101のPDF 取扱説明書をオンラインで閲覧またはダウンロードできます。Do-All Outdoors CT101 4 ページ。

CT101
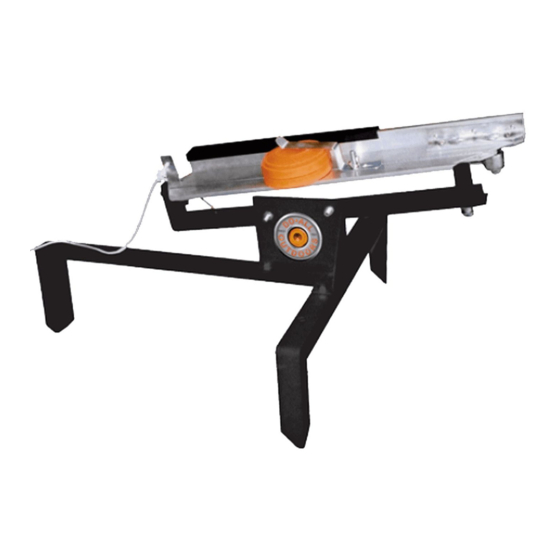
BASE ASSEMBLY
1. Place M8x20 Hex Bolt up through front hole in rear leg section and place matching left hand hole in front leg section
over bolt. *NOTE: If the Trap is to be mounted on a tire, the front leg should be reversed and horizontal.
2. Place corner hole of support leg over bolt and apply washer, lock washer, and M8 nut. Place two M8x20 Hex Bolts
upward through remaining two holes and apply washers, lock washers, & M8 nuts and tighten.
3. If the Trap is to be mounted on a tire (not included), place M8x150 Hex Bolt down through lug hole in wheel, apply flat
washer and M8 nut, then tighten.
4. If the Trap is to be mounted on a solid foundation such as a shooting bench, it is advisable to put rubber or other
suitable material between the Trap and the foundation in order to provide a cushioning effect.
FINAL ASSEMBLY
5. Place M8x20 Carriage Bolt through square hole of elevation arm and square hole of support leg, then apply flat washer,
lock washer, and hand tighten M8 wing nut.
6. Place M8x20 Hex Bolt bolt through the round elevation arm hole and round support leg hole, apply flat washer, lock
washer, and tighten M8 nut with wrench.
7. Make sure one end of string is tied to trigger and thread the other end through eyebolt.
8. Connect main spring to silver swivel spring hook under the arm.
9. Pull long threaded spring bolt through the hole in the back of the Trap head next to the trigger release. Connect by
using the washer and wing nut.
ONCE SPRING IS INSTALLED THE TRAP IS LIVE. REFER TO WARNINGS ON PREVIOUS PAGE!
DO ALL OUTDOORS
