- ページ 10
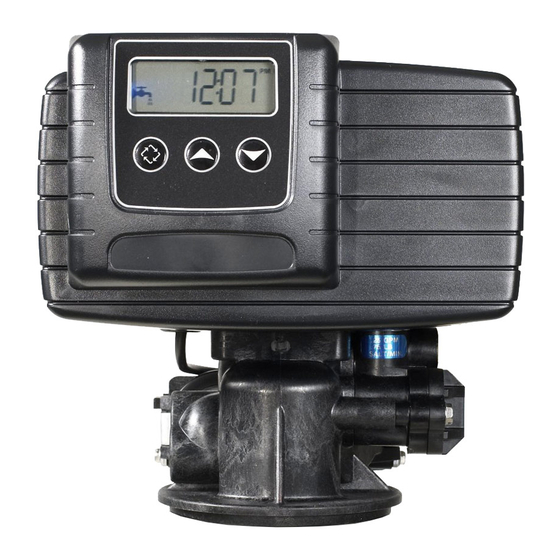
ウォーター・ディスペンサー Fleck 5600SXTのPDF インストレーション・マニュアルをオンラインで閲覧またはダウンロードできます。Fleck 5600SXT 14 ページ。
Fleck 5600SXT にも: 取付説明書 (19 ページ), プログラミング (3 ページ)

7) If you ever need to remove the tube, evenly press on
both sides of the grey ring surrounding the tube and
pull out as shown in Figure 10-A. i
the end of the tube each time you remove it to
ensure a proper seal when the tube is inserted
6 › d R a I n C o n n e C t I o n
1) Locate the included barbed fitting and use Teflon
tape to wrap the threading. Be careful to wrap the
tape clockwise with the threading towards you.
Screw the fitting snugly into the drain port with a
wrench as shown in Figure 10-C. i
caution not to overtighten this fitting
PAGE 10
Be sure to recut
F I G u R e 10 - a
Please use
F I G u R e 10 - C
F I G u R e 10 - e
QualityWaterForLess.com
8) Finally, use ½" inner diameter (I.D.) tubing to connect
the drain barb fitting on the brine tank to a floor drain
as shown in Figure 10-B. Note that this is not neces-
sary as the 474 assembly is designed to prevent an
overflow from occuring, but it is a good precaution
2) Next, assemble your ½" I.D. drain line to the drain
barb as shown in Figure 10-D.
wall ½" I.d. tubing that will not flatten.
electrical tape over the drain tubing to prevent a tube
split and clamp the tubing securely into place with the
included clamp as shown in Figure 10-E
3) Connect the other end of this drain line tubing se-
curely to a standpipe or drain in accordance with all
local plumbing codes.
is securely in place before putting your soft-
ener in service. during regeneration, there will
be increased flow via this tubing which may
cause the tubing to become loose
F I G u R e 10 - B
Be sure to use rigid
Wrap
F I G u R e 10 - d
Be sure that the drain line
Help: 888-426-5001
