- ページ 4
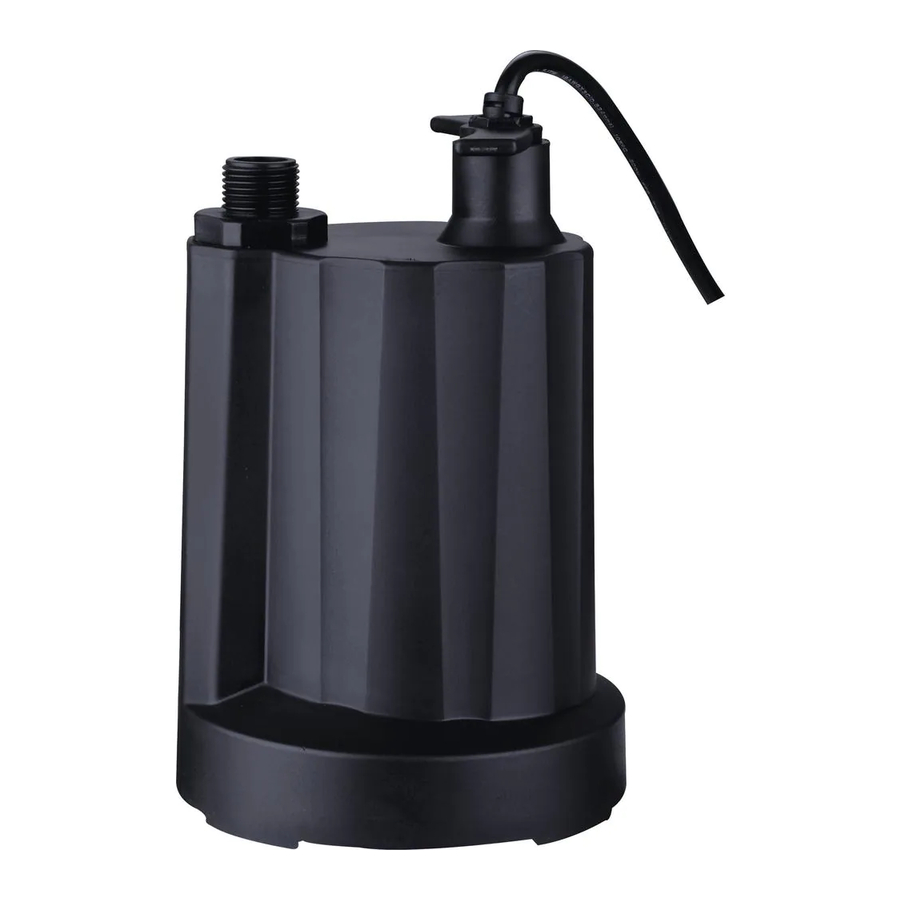
水ポンプ Acquaer UTP033-2のPDF オーナーズマニュアルをオンラインで閲覧またはダウンロードできます。Acquaer UTP033-2 9 ページ。 Submersible sump pump
Acquaer UTP033-2 にも: オーナーズマニュアル (15 ページ)

ADDITIONAL SAFETY PRECAUTIONS
10.
Make certain the electrical circuit to the pump is protected by a 10-amp or larger fuse or circuit
breaker.
11.
Periodically inspect pump and system components, to be sure pump inlets are free of mud, sand
and debris. DISCONNECT PUMP FROM THE POWER SUPPLY BEFORE INSPECTING.
12.
Wear safety glasses at all times when working with pumps.
13.
Follow all electrical and safety codes, particularly the National Electrical Code (NEC) and in
the workplace, the Occupational Safety and Health Act (OSHA).
14.
This unit is designed only for use on 115 volts (single phase), 60 Hz, and is equipped with an
approved 3-conductor cord and 3-prong grounded plug. DO NOT REMOVE THE GROUND PIN
UNDER ANY CIRCUMSTANCES. The 3-prong plug must be directly inserted into a properly
installed and grounded 3-prong, grounding-type receptacle. Donot use pump with a 2-prong
wall outlet. Replace the 2-prong outlet with a properly grounded 3-prong receptacle (a GFCI
outlet) installed in accordance with the National Electrical Code and local codes and
ordinances. All wiring should be performed by a qualified electrician.
15.
Protect the electrical cord from sharp objects, hot surfaces, oil, and chemicals. Avoid kinking
the cord. Do not use damaged or worn cords.
PREPARATION
WARNING
WARNING: Always use handle to lift pump. Never use power cord to lift pump. To avoid skin
burns, unplug and allow timefor the pump to cool after periods of extended use.
Before beginning assembly of product, make sure all parts are present. Compare parts with
package contents list. If any part is missing or damaged, do not attempt to assemble the product.
Estimated Assembly Time (New installation): 5 minutes
Materials Required for Assembly (not included): Garden Hose or Hose Kit
The pump should rest on a level, solid base.
Do not suspend the pump by the discharge hose or power cord.
Keep the pump inlet screen clear.
Do not install pump directly on sand or dirt. A minimum water level of 1 in. is required to prime
the pump.
INSTALLATION INSTRUCTIONS
1.Attach a 5/8 in. inside diameter or larger garden hose
(not included)to the pump (A) outlet.
Note: Be sure the hose end has a rubber washer to
minimize water leaks.
1
A
4
DEPANNAGE
Note: Ne démontez pas le carter du moteur.Ce moteur n'a pas de pièces internes réparables
et le désassemblage peut provoquer une fuite d'huile ou de problèmes dangereux de
câblage électrique.
Problema
Possible Cause
1.Le fusible grillé
2.Le disjoncteur déclenché
La pompe ne
3.La prise déconnectée
démarre
4.La surcharge thermique
pas ou
fonctionne
5.La prise corrodée
6.Lemoteur a échoué
1.L' écran bloqué
La pompe ne
2.Le tuyau entortillé courbé fortement,
peut pas
ou enroulé
pomper l'eau
3.Le verrou à air
4.Le diamètre du tuyau trop petit
5.La longueur du tuyau trop longue
6.L'impelleur lâche sur l'arbre
7.L'impelleur cassé
Corrective Action
1.Remplacez le fusible
2.Remettez le disjoncteur
3.Fixez la prise
4.Débranchez la pompe pour 30
7b
minutes, et puis branchez
5.Nettoyez les broches de la prise
6.Rappelez au 1-888-538-0082
1.Nettoyez l' écran
2.Redressez le tuyau
3.Nettoyez la fonction de libération
duverrou à air
4.Utilisez le tuyau de plus grand
diamètre
5.Utilisez le tuyau plus court
6.Réassemblez l'impelleur
7.Rappelez au 1-888-538-0082
13
