- ページ 4
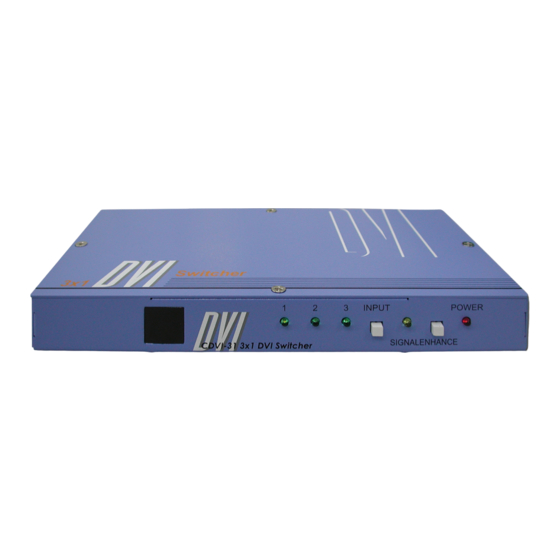
スイッチ Cypress CDVI-31のPDF 操作マニュアルをオンラインで閲覧またはダウンロードできます。Cypress CDVI-31 6 ページ。 3-in 1- out dvi switcher

Operation Controls and Functions
Rear Panel
DVI OUT
1
1. DVI out: Use a DVI to DVI cable to connect to your display.
2. DVI 3 in: Use a DVI to DVI cable to connect to your source 3.
3. DVI 2 in: Use a DVI to DVI cable to connect to your source 2.
4. DVI 1 in: Use a DVI to DVI cable to connect to your source 1.
5. DC power jack: 5V 2A DC power input.
Remote Control
1. Power: Switch between power ON and Standby.
2. Press button 1 to select source 1.
3. Press button 2 to select source 2.
4 Press button 3 to select source 3.
5. 4~0: Void buttons.
DVI-D Pin Configuration
DVI-Digital (DVI-D): Supports display-only connections between the host computer
and display. This interface is designed for a 12 or 24-pin connection to enable
single or dual-link mode activation.
Pin Signal Assignment
1
T.M.D.S Data2-
T.M.D.S. Data2+
2
T.M.D.S. Data2/4 Shield
3
4
T.M.D.S. Data4-
5
T.M.D.S. Data4+
DDC Clock
6
7
DDC Data
No Connect
8
DVI 3 IN
2
2
1
9
17
Receptacle Connector
Digital-Only Connector Pin Assignments
Pin Signal Assignment
T.M.D.S. Data1-
9
T.M.D.S. Data1+
10
T.M.D.S. Data1/3 Shield
11
12
T.M.D.S. Data3-
13
T.M.D.S. Data3+
+5V Power
14
15
Ground (for +5)
16
Hot Plug Detect
DVI 2 IN
3
8
24
DVI-D
Pin Signal Assignment
17
18
19
20
21
22
23
24
DC 5V
DVI 1 IN
4
5
3
2
CR-22
T.M.D.S. Data0-
T.M.D.S. Data0+
T.M.D.S. Data0/5 Shield
T.M.D.S. Data5-
T.M.D.S. Data5+
T.M.D.S. Clock Shield
T.M.D.S. Clock+
T.M.D.S. Clock-
1
4
5
