- ページ 7
GPS ACR Electronics NAUTICAST 2645のPDF 製品サポート・マニュアル補遺をオンラインで閲覧またはダウンロードできます。ACR Electronics NAUTICAST 2645 15 ページ。 Portable ais (solas and inland ais) automatic identification system

3
First steps
3.1 Pre-charging
NOTE: Prior to charging your Portable AIS, place the power mode switch in the OFF position and
remove the fuse from plastic bag that is taped to the top cover inside the portable AIS case.
Remove the fuse cap cover as illustrated in Figure 1, page 5 and insert into the fuse holder and
place the fuse holder cap back in place.
CAUTION: Prior to placing your Portable AIS into service, charge the internal batteries for a minimum
of 5 hours. Ensure that the switch is in the "OFF" position when charging. See charging instructions below.
3.2 Initial configuration
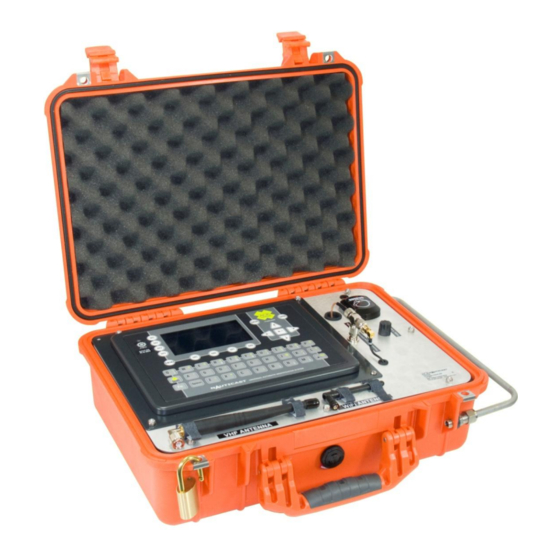
To configure the NAUTICAST™ Portable AIS for the first time, open the unit and follow the steps defined in
the Installation Manual (included with purchase). After initial configuration, you may configure the device
over the Wi-Fi™ port (see later section in this manual). To start the power for the AIS see chapter. 6.
Operation
.
4
Power Supply / Charging
4.1 Portable AIS power switch functions
The Switch on the Portable AIS enables three different functions:
UP position is to supply power to the transponder from the internal battery. This position is to apply
power to the Start switch to power on the unit. Note the Start switch is momentary switch hold on for 1
second and release.
DOWN position is to supply power to the transponder from an external 24V DC power source
CENTER position is to remove power from the transponder and allow for the charging of the internal
battery.
Although battery can be charged while the transponder is on, optimum charging conditions result when
the transponder is powered off.
4.2 Charging the Internal Battery
To properly charge the 24V NiMH internal battery:
Only charge the battery in a dry environment
Confirm that the power switch is in the center OFF position
Confirm that power source wall socket is 100-240V AC, 50-60Hz
Attach the 110V to 240V AC cable first to the battery charger input socket and then to a wall socket
Allow unit to charge for 4 to 5 hours before putting back into service
Transponder operational life on battery power is 4 to 5 hours.
The transponder is protected by an 8 amp, AGC style fuse, between the battery and the transponder.
To access the fuse for replacement, lift the lid on the waterproof housing and unscrew the fuse holder.
AIS
Portable AIS Manual Addendum
Power
Supply
7
Wall
Socket
Y1-03-0243D
