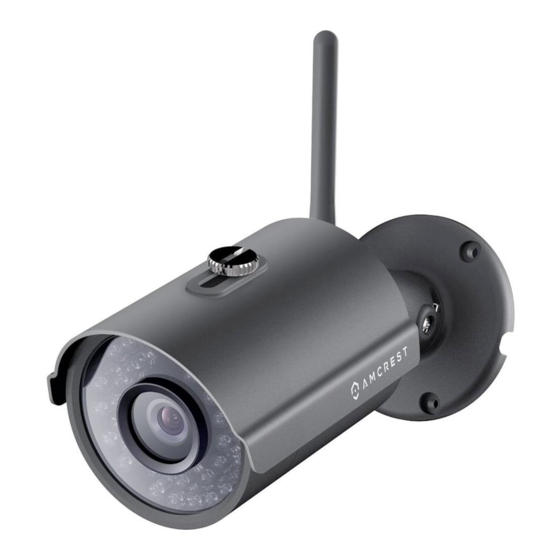
Amcrest IP3M-954E 빠른 시작 매뉴얼 - 페이지 3
{카테고리_이름} Amcrest IP3M-954E에 대한 빠른 시작 매뉴얼을 온라인으로 검색하거나 PDF를 다운로드하세요. Amcrest IP3M-954E 7 페이지.
Amcrest IP3M-954E에 대해서도 마찬가지입니다: 빠른 시작 매뉴얼 (11 페이지)

Step 5
Scan the QR code on the side of the camera.
Move the camera back and forth slowly to
capture the entire QR code within the scanning
window. Alternatively you can enter the Serial
Number (S/N) that is next to the QR code.
Step 6
If you are logging in for the first time, you will
be prompted to create a new password. Please
select a password that is at least 8 characters
long, and one that uses a combination of
uppercase letters, lowercase letters, and
numbers. Note that once the password is
changed here, it will take effect immediately.
If you forget your password, you can always
hard reset your camera by touching the leads
of the green and white reset wires together
for 30 seconds.
Step 7
To better understand the App's interface and
features, please visit the Help Center within
the app. To access the Help Center, tap the
menu icon on the top left hand side, tap Help,
then select which screen you'd like more
information about.
QUICK START GUIDE
Step 1
Connect the camera to a Power Over Ethernet
(POE) jack on your router or switch using an
ethernet cable (1 cable included in the box).
Wait 30 seconds for the camera to start-up and
initialize.
Step 2
Using a PC or Mac, insert the included CD and
install the IP Config software. Alternatively, you
can download the IP Config software from
www.amcrest.com/support
Step 3
Open the IP Config software and hit the refresh
button. The camera will appear in the device
list. Click the
web browser. Ensure that you are using Internet
Explorer or Safari.
Step 4
Log in to the camera using the default login
credentials (use admin for both the username
and password).
3
Desktop
Access
e
icon to open the camera in your
4
