101VOICE IP3667 빠른 설치 매뉴얼 - 페이지 7
{카테고리_이름} 101VOICE IP3667에 대한 빠른 설치 매뉴얼을 온라인으로 검색하거나 PDF를 다운로드하세요. 101VOICE IP3667 13 페이지. Ip door access control
101VOICE IP3667에 대해서도 마찬가지입니다: 빠른 사용 설명서 (2 페이지)
IP3667
3. Installation
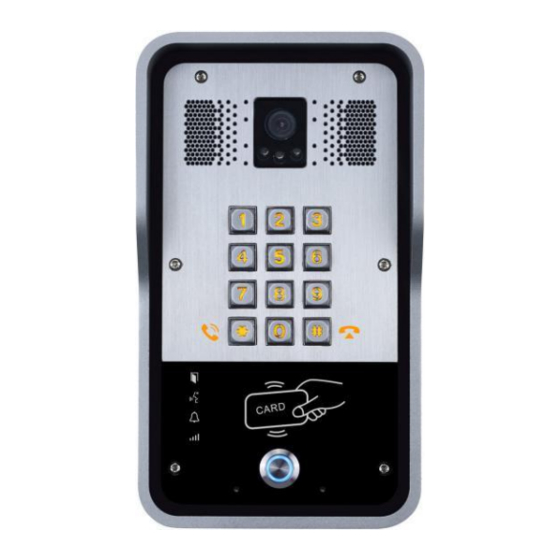
Front
Step 1: Installation preparation
A. Check the following contents:
Hex wrench x 1
RJ45 plugs x 2 (1 spare)
TA5 x 40mm screws x 4
35mm screw anchors x4
B. Tools that may be required:
Hex wrench
Phillips screwdriver (Ph2 or Ph3), hammer, RJ45 crimper
Electric impact drill with an 6mm drill bit
Step 2: Drilling
A. Place the mounting template with dimensions on the surface of a wall in the desired flat position.
B. Use an electric drill to drill the 4 holes marked on the mounting template. It is recommended to drill
about 50mm deep. Remove the template when finished drilling.
C. Push or hammer screw anchors into the drilled holes.
Panel Main Part of Intercom
Figure 1 Three Major Parts of IP3667
Figure 2 Wall Mounting
Rain Shade
7
Back Panel