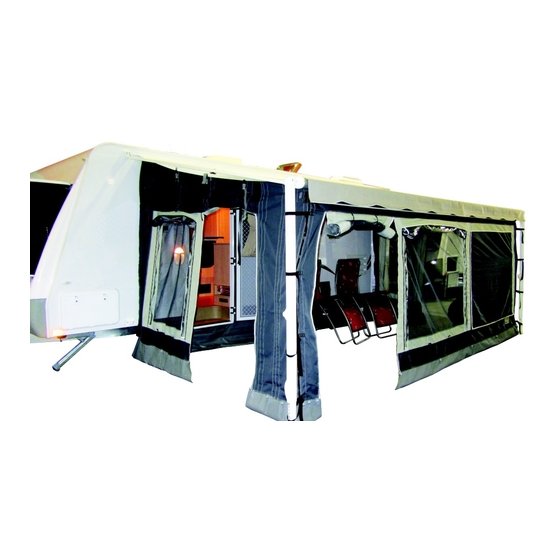
Coast to Coast Coast Awning Wall Kits 매뉴얼 - 페이지 3
{카테고리_이름} Coast to Coast Coast Awning Wall Kits에 대한 매뉴얼을 온라인으로 검색하거나 PDF를 다운로드하세요. Coast to Coast Coast Awning Wall Kits 8 페이지. Coast awning wall kits

Telescopic
Rafter
Pole
Line the edge of the telescopic rafter pole to the edge of
the front wall (not awning fabric)—the spot which the spig-
ot points is where you should drill a pilot hole into the awn-
ing roller tube
It is recommended to make the pilot hole 20mm under the
awning canopy and 12.5mm in from the edge of the front
wall
*Note: When drilling the final hole, be careful not to over penetrate the roller tube.
If you go too far, you risk damaging the internal spring mechanism. It is recom-
mended to use a 11/32" (8.73mm) drill bit to drill your final holes.
The end of the telescopic rafter pole which has a thicker
circumference needs to have its spigot trimmed down to
15mm. Once this is done, insert the telescopic rafter pole
into the bracket on the pop top and the hole in the roller
tube
At this point you will need to make a decision on whether
you want to continue the installation process using sail
track (which will have to be screwed onto the outside wall
of your RV) or if you want to use the tent poles provided
Step 6
=
Step 8
Tie the black webbing straps on the ends of the front wall
to the awning arm by threading through the buckle (there
are 4 on each side of the front wall)
Once you have tied up both sides, make sure the front
wall is still centralised on the roller tube of the awning
Locate the telescopic rafter pole (this is the one with spig-
ots on both ends)
Remove any burrs from the drill site—you can use a round
metal file to smoothen the edges
Locate the saddle brackets—these need to be installed
onto the side of your Caravan approx. 20mm under your
awning vinyl
*Note: Ensure that the centre hole of the saddle bracket measures the same dis-
tance from the edge of the awning canopy as the drilled hole on the roller tube
Sail Track—Step 1:
Coast recommends the use of double sided sail track but
you may find that near window/ door frames space is lim-
ited—in this instance, single sided sail track is fine
The sail track should be installed directly below (and in-
line) with the saddle bracket
When installing the sail track remember to use stainless
steel screws and ensure they are applied to your RV's clad-
ding joints
*Note: Remember to seal the screw sites with a silicone sealant. Also make sure
the screws are not too long, otherwise they will damage the inside wall of your
Step 5
Step 7
Telescopic Rafter
Pole
RV!
