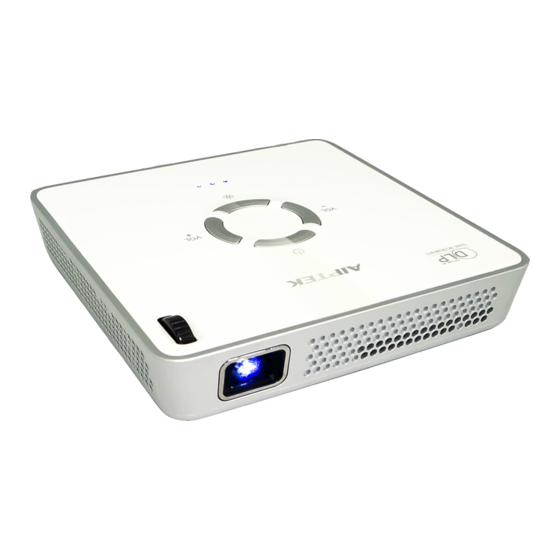
AIPTEK i1200 사용자 설명서 - 페이지 6
{카테고리_이름} AIPTEK i1200에 대한 사용자 설명서을 온라인으로 검색하거나 PDF를 다운로드하세요. AIPTEK i1200 17 페이지.

User's Manual
Getting Started
Charging the product
The projector is built with an
embedded battery for mobile use.
Please charge the projector for 5
hours prior to its first use. Repeat
charging will take around 3 hours.
The battery will be charged only
when the projector is not in use (Power off). Connect one end of the supplied power
adapter to DC IN jack and the other end to a power outlet to start charging.
Exchange the plug (EU, US etc.) of AC adapter that accommodates the type of power
outlet in your country.
Charging LED Indicator
During charging, the LED indicator lights will flash as marquee. While the battery is
fully charged, the LED indicator lights turns to solid blue.
LED indicators
LED Status
3 blue LEDs stay on
2 blue LEDs stay on
1 blue LED stays on
1 blue LED blinks
LED Marquee
Power On / Off / Standby
Push the Power button for 2 seconds to turn on the projector.
Push the Power button again for 3 seconds to turn off the projector.
Standby mode: Push the Power button for 1 second to turn on / off the projector
lamp to save the battery and system reboot time. (The LEDs are still on when the
projector is in standby mode.)
Adjusting the Focus
Place the projector on a flat surface and toward a
wall or a projection screen. Adjust the focus by
turning the focus ring to get a sharp and clear
picture.
Note: Use a tripod to increase the height of the projectional image when necessary.
The tripod socket is located under the projector.
Indication
Power capacity is between 80% to 100%
Power capacity is between 45% to 80%
Power capacity is between 10% to 45%
Power capacity is below 10%
Projector is being charged
6
