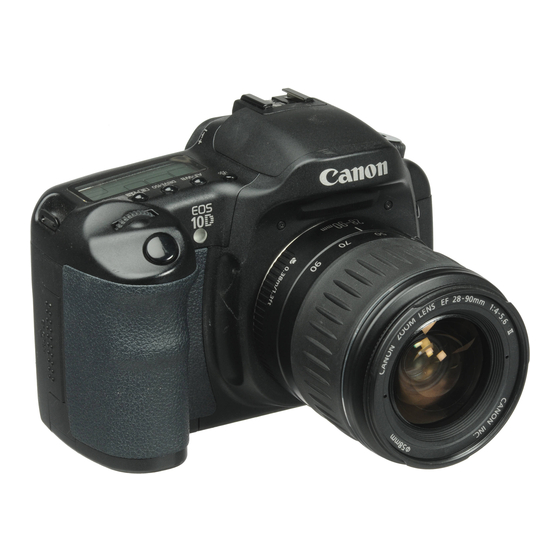
Canon 0304B001 - EOS 1D Mark II N Digital Camera SLR 사용 설명서 - 페이지 6
{카테고리_이름} Canon 0304B001 - EOS 1D Mark II N Digital Camera SLR에 대한 사용 설명서을 온라인으로 검색하거나 PDF를 다운로드하세요. Canon 0304B001 - EOS 1D Mark II N Digital Camera SLR 41 페이지. Canon eos 1d mark ii n: software guide
Canon 0304B001 - EOS 1D Mark II N Digital Camera SLR에 대해서도 마찬가지입니다: 사용 설명서 (28 페이지), 소프트웨어 설명서 (2 페이지)

Example of Operation
The following shows typical flows of operating Digital Photo Professional.
Example 1: Displaying Thumbnail Images and
Performing Basic Edits in the Main Window
Start up Digital Photo Professional (p.1-2).
Display images in the main
Set check marks (p.1-2).
window (p.1-2).
Sort images (p.1-5).
Select an image and perform basic edits (p.1-6, p.1-9).
Print the images (p.1-19).
Transfer images to image
editing software (p.1-18).
Save edits (recipe data) to the image (p.1-13).
Convert and save edited images as separate
images in a single operation (p.1-16).
Example 4: Checking Images in the Quick
Check Window
Start up Digital Photo Professional (p.1-2).
Select multiple images in the main window (p.1-2).
Display the images in the quick check window (p.4-1).
Check the images.
Set a check mark
to an image (p.4-1).
Example 2: Selecting One Image from Multiple Images and
Performing Detailed Edits on the Image in the Edit Image Window
Start up Digital Photo Professional (p.1-2).
Select multiple images in the main window (p.1-2).
Switch to the edit image window (p.3-1).
Select one image from multiple images (p.3-1).
Edit the image (p.2-3, p.2-6).
Display the image as a
comparison of before
and after editing (p.2-3).
Print the image (p.1-19).
Transfer images to image
editing software (p.1-18).
Save edits (recipe data) to the image (p.1-13).
Convert and save edited images as separate images in a
single operation (p.1-16).
Example 5: Applying the Editing Data (recipe
data) of an Edited Image to Another Image
Start up Digital Photo Professional (p.1-2).
Select the edited image in the main window (p.1-2).
Copy the editing data (recipe data) (p.1-13).
Select the image to which the editing data will be
applied in the main window.
Apply the editing data to the selected image (p.1-13).
Example 3: Performing Detailed Edits on a
Single Image in the Edit Window
Start up Digital Photo Professional (p.1-2).
Select an image in the main window (p.1-2).
Display the image in the edit window (p.2-2).
Display the image as a
Edit the image
comparison of before
(p.2-3, p.2-6).
and after editing (p.2-3).
Print the image (p.1-19).
Transfer an image to
Photoshop (p.1-18).
Save edits (recipe data) to the image (p.1-13).
Convert and save the edited image as a separate image
(p.1-15).
Example 6: Remote Shooting with EOS
Capture
Connect the camera to your computer and turn the camera on.
Start up Digital Photo Professional (p.1-2).
Switch to the main or edit image window (p.1-2, p.3-1).
Start up EOS Capture (p.1-19).
Take a shot by clicking the [Shoot] button in EOS Capture or
pressing the shutter button on the camera.
Check the image, which is displayed in the main or edit
image window.
Cover/Table of
Contents
Introduction
Displaying Thumbnail Images
1
and Performing Basic Edits
in the Main Window
2
Performing Detailed
Edits in the Edit
Window
3
Performing Detailed
Edits in the Edit
Image Window
Displaying an
4
Image in the Quick
Check Window
5
Reference
Index
0-4
