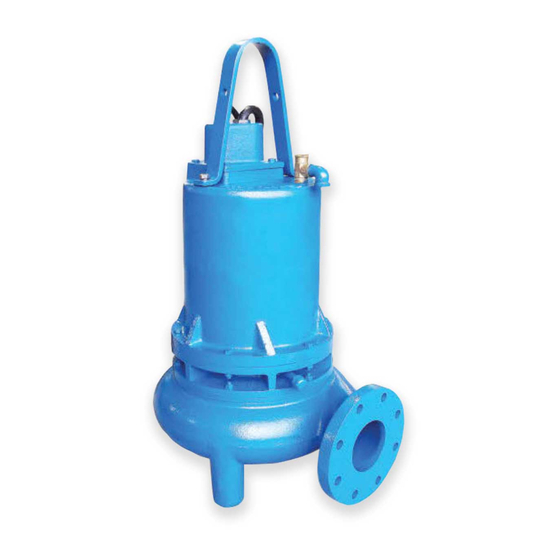
Barmesa Pumps 4BSE452DS 설치, 운영 및 유지보수 매뉴얼 - 페이지 8
{카테고리_이름} Barmesa Pumps 4BSE452DS에 대한 설치, 운영 및 유지보수 매뉴얼을 온라인으로 검색하거나 PDF를 다운로드하세요. Barmesa Pumps 4BSE452DS 14 페이지. Submersible solids handling pumps
Bearing
housing (16)
Moisture Sensor
Probe (37)
Diaphgragm (21)
Seal plate (20)
Figure 3
IMPORTANT! - Hammering
on the seal pusher tool will
damage the seal face.
barmesapumps.com
Be sure the stationary members are
in straight and that the rubber ring is
not out of it's groove. Lightly oil (Do
not use grease) shaft and inner
surface of bellows on rotating
member. With lapped surface facing
bearing housing (16), slide rotating
member onto shaft using seal pusher
tool, until lapped faces are together.
It is extremely important to keep seal
faces clean during assembly. Dirt
particales lodged between faces will
cause the seal to leak.
Be sure driving lugs in retainer are
matched in rotating member of seal
(19). Place spring over shaft and in
place on rotating member, making
sure it is seated in retainer and not
cocked or resting on bellows tail.
Lightly oil shaft and inner surface of
outboard rotating member.
With tail section toward bearing
housing (16), slide rotating member
onto shaft with seal pusher tool until
retainer engages spring and spring is
compressed slightly.
Motor end
Impeller end
Spring should be properly engaged
in both retainers.
Reassemble the diaphragm (21) with
"bulg" facing seal plate (20). Place
plate (22) on diaphragm (21) and
insert capscrews (23) into plate and
tighten.
Place seal plate (20) over shaft onto
bearing housing (16), being careful
not to damage outboard stationary
member and align holes for cap
screws (25).
Control cord (35)
Hex. plug (35B)
Washer (35C)
Grommet (35D)
Washer (35C)
Figure 4
Thread cap screws (25) into bearing
housing (16) and tighten. Refill
chamber with oil.
Conduit Box Assembly - Check
power (34) and control cables (35) for
Seal stationary
crackes or damage and replace
Seal rotating
complete conduit box (4) if required.
member
(See Figure 4) Bring motor wires
through opening in top of motor
Seal spring
housing (3), check sleeving and
replace if damaged. Position square
Diaphragm
ring (5) in conduit box (4) and
plate (22)
reconnect leads using connectors
Seal stationary
and insulators. See Figures 5, for
wiring schematics.
Refill with cooling oil. Position
conduit box (4) with square ring (5)
on motor housing. Apply thread
locking compound to cap screws (6)
threads and torque to 16 ft/lbs.
Remove gland nuts (34B) and (35B),
washers
grommets (34D) and (35D) from
conduit box (4), inspect and replace if
damaged (See Figure 4). Reassemble
by inserting one washer, grommet,
one more washer and gland nut into
conduit box. Torque gland nuts to 15
ft/lbs to prevent leakage.
Conduit box (4)
Service
(34C)
and
(35C),
and
Power cord (34)
Hex. plug (34B)
Washer (34C)
Grommet (34D)
Washer (34C)
07