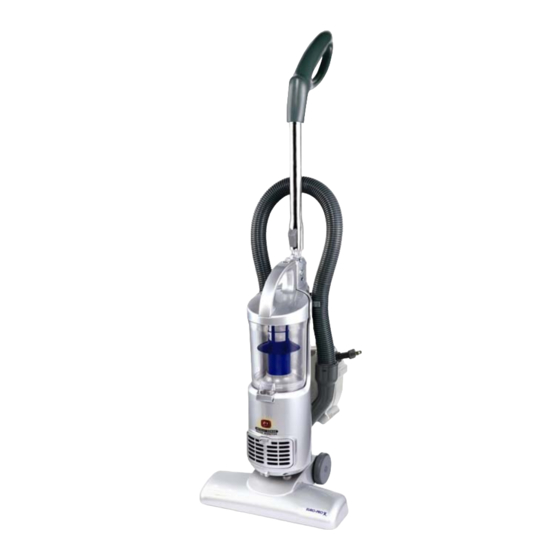
Euro-Pro EP6312H 소유자 매뉴얼 - 페이지 8
{카테고리_이름} Euro-Pro EP6312H에 대한 소유자 매뉴얼을 온라인으로 검색하거나 PDF를 다운로드하세요. Euro-Pro EP6312H 17 페이지. 12 amp stick vac 120v., 60hz., 12 amps

OPERATING INSTRUCTIONS
Emptying the Dust Cup Container
and Cleaning / Changing the Non-
Woven Pre-Filter, HEPA Filter &
Debris Screen
Warning:
Always unplug the
unit from electrical outlet before
opening the Dust Cup (container).
Important:
Do NOT use the vacuum
without the HEPA filter in place.
Warning
After each Use -
:
Always remove Filter Assembly
and the Dust Cup Cover with the
Debris Screen, then vigorously
"TapClean" HEPA Filter and clean
Debris Screen and Non-Woven Pre-
Filter until no more dust can be
removed.
IMPORTANT, Please Note: The
"TapClean" HEPA Filter will stop most of
the tiniest dust particles from re-entering
the air you breathe. In fact it stops
99.97% of all particles as small as 0.3
microns - many times smaller than a
human hair!!! Because of this incredible
filtration performance, the HEPA Filter
will quickly accumulate, inside the white
filter folds, many fine dust particles that
are difficult to see but which will
eventually block or reduce your suction
power - if not cleaned properly.
1. To remove the dust cup container,
first press on the dust cup release
button (1) that is located on the dust
cup handle and at the same time
press on the dust cup release button
(2) that is on the side of the upper
housing. (Fig. 7) Then pull the dust
cup container out.
Dust
Cup
Release
Button 1
Dust
Cup
Release
Button 2
Fig. 7
2. To empty the dust
cup container,
press on the trap
door release button
that is on the back
side of the dust cup
container. (Fig. 8)
3. The HEPA filter is
located underneath the
dust cup container. (Fig.9)
Remove the Non-Woven Pre-Filter.
(Fig. 10) Remove the HEPA filter, hold
the edges and pull it out slowly.
Fig. 10
Fig. 9
4. Hold the HEPA filter
by the edges and vigorously
"TapClean" the HEPA Filter
dirty side down on a hard,
flat surface until no more
dust is observed falling out
from between the pleats of
the filter. (Fig. 11) We
recommend washing the HEPA filter
once a month or when suction
appears to be reduced. Let the HEPA
filter air dry completely for 24 hours.
5. Rinse the non-woven pre-filter and let
air dry completely for 24 hours.
6. Insert the non-woven pre-filter.
7. Reinstall the HEPA filter in the
vacuum.
8. To separate the debris screen from
the dust cup, hold the dust cup in one
hand and turn the
dust cup cover counter
clockwise and pull apart.
To clean the debris
screen, we
recommend that you
rinse it under
lukewarm running
water to remove the dirt that
accumulates on it, but always allow it
to completely air dry before inserting
back into the vacuum. (Fig. 12)
6
IMPORTANT:
1. Ne pas utiliser l'aspirateur près des
chaufferettes, radiateurs ou mégots
de cigarette.
Fig. 8
Non-Woven
Pre-Filter
2. Avant d'insérer la fiche dans une
prise murale, assurez-vous que vos
mains sont bien sèches.
HEPA
Filter
3. Avant de commencer le nettoyage,
assurez-vous d'enlever tout objet de
grande taille ou pointu risquant
d'endommager l'écran à débris de la
coupelle.
Fig. 11
Fig. 12
MESURES DE PRÉCAUTION
Si l'orifice de succion ou le boyau de l'aspirateur est BLOQUÉ,
arrêtez l'aspirateur et retirez l'obstruction avant de l'utiliser de
nouveau.
4. Pour débrancher la fiche de la prise
murale, tirez sur la fiche plutôt que
sur le cordon.
5. Évitez d'utiliser l'aspirateur pour
aspirer toute matière fumante ou
brûlante comme des cigarettes,
allumettes ou cendres chaudes.
6. Ne pas utiliser l'aspirateur sans que
TOUS les filtres sont en place.
Avertissement:
du cordon, gardez la fiche en main. Lors
du rembobinage, ne laissez pas
le cordon fouetter.
23
Lors du rembobinage
