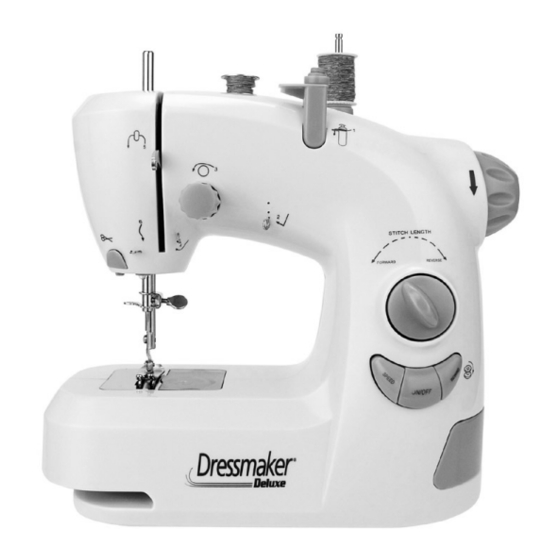
Euro-Pro Dressmaker Deluxe 1104HG 소유자 매뉴얼 - 페이지 4
{카테고리_이름} Euro-Pro Dressmaker Deluxe 1104HG에 대한 소유자 매뉴얼을 온라인으로 검색하거나 PDF를 다운로드하세요. Euro-Pro Dressmaker Deluxe 1104HG 6 페이지. Euro-pro sewing machine user manual

ACCESSORIES
Foot Pedal
BATTERY INSTALLATION
1. Battery compartment is on the bottom of the
2. Open the cover of the battery compartment and
3. Replace the battery compartment cover.
Caution: Make sure that the On/Off Button is in the
"Off" position when inserting or changing the
batteries. If the On/Off button is in the "On" position
when inserting or changing the batteries, the sewing
machine may run suddenly.
THREADING UPPER THREAD
⑥
②
①
④
③
⑤
⑦
⑧
⑨
Bobbins (x2),
AC/DC Adapter
Thread Spools (x2), Needle,
Needle Threader
sewing machine.
insert the 4 "AA" alkaline batteries. Make sure
that the batteries are in the correct position as
marked on the inside of the battery compartment.
Caution: When threading the
sewing machine, make sure that
the On/Off button is in the "Off"
position.
1. Place the spool of thread into
the spool pin.
2. Thread the machine following
this sequence: ①, ②, ③, ④, ⑤,
⑥, ⑦, ⑧,
.
3
BOBBIN WINDING
Needle Bar
To wind your bobbins:
1. Press on the bobbin winder lever to raise the bobbin winding pin.
2. Place an empty bobbin on the bobbin winding pin.
3. Place a spool of thread on the spool pin spindle.
4. Take the end of the thread from the thread spool and wind it counter clockwise
around the upper section of the thread clamper following the numbered sequence
in the illustration above.
5. Continue taking the thread around the needle bar.
6. Wrap the thread counter clockwise around the empty bobbin several times.
7. Press the bobbin winder button and run until the bobbin is full.
8. When the bobbin is full, release the bobbin winder button and remove the bobbin
from the bobbin winding pin.
9. Lift the bobbin winding lever to lower the bobbin winding pin.
Thread Clamper
8
