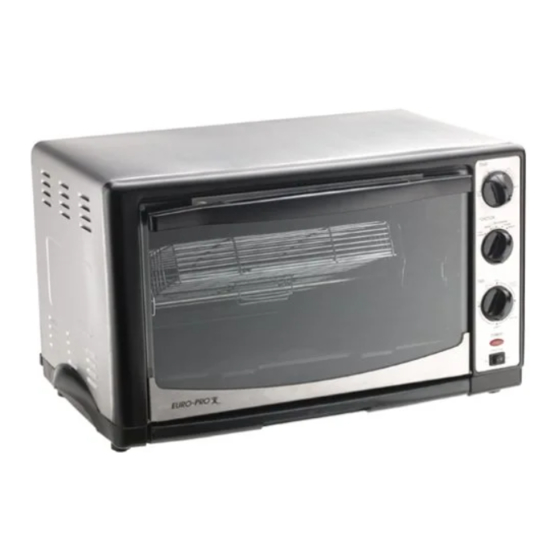
Euro-Pro TO285 소유자 매뉴얼 - 페이지 7
{카테고리_이름} Euro-Pro TO285에 대한 소유자 매뉴얼을 온라인으로 검색하거나 PDF를 다운로드하세요. Euro-Pro TO285 8 페이지. Euro-pro xl toaster oven/rotisserie model to285

Broiling
For best results, it is recommended that you preheat the oven for 15
minutes on 450°.
Operation
• Set Temperature Control to 450°.
• Turn Function Control to Broil.
• Preheat the oven.
• Place the Broiler Rack on the Drip Pan.
• Place the food on the Broiler Rack and slide into the Top Rack
Support Guide or Middle Rack Support Guide depending on the
thickness of the food that you are cooking.
• Food should be placed as close as possible to the Top Heating Element
without touching it.
• Set temperature control to the appropriate temperature.
• Brush food with sauces or oil, as desired.
• Turn Time Control to position 'Stay On'.
• It is advisable to leave the door slightly ajar.
• Turn food over midway through the prescribed cooking time.
• When broiling is complete, turn the Time Control to 'OFF'.
Broiling Guide
Cooking results may vary, adjust these times to your individual requirements.
Also, check often during broiling to avoid overcooking.
MEAT
OVEN TEMP
RIB STEAK
T-BONE STEAK
HAMBURGER
PORK CHOPS
LAMB CHOPS
CHICKEN LEGS
FISH FILETS
SALMON STEAKS
Note: All broiling times are based on meats at refrigerator
temperature. Frozen meats may take considerably longer.
Therefore, use of a meat thermometer is highly
recommended.
COOKING TIME
400
25-30 min.
400
25-30 min.
400
25-28 min.
400
40-45 min.
400
30-40 min.
400
30-35 min.
350
20-25 min.
350
20-25 min.
8
Rotisserie Cooking
We recommend that you do not cook a roast larger than 4-5 lbs. on the
rotisserie wheel. Chicken should be bound in string to prevent the chicken
legs or wings from unraveling during roasting and so that rotisserie assembly
will rotate smoothly. For best results we recommend that you preheat the
oven for 15 minutes on 450°.
Assembling the Rotisserie Wheel
1. Pinch tab at center hub to release locking springs and
separate hub wheel end from fixed skewer rods.
2. Slide up to whole chickens onto the skewer rods. It is
best to tie both the wings and legs to the bird to keep
them from flopping when the rotisserie wheel turns.
Replace the hub wheel onto the skewer rods. Ensure
that the center drive pin on the locking hub is pulled
out.
3. Lift the rotisserie wheel with the rotisserie handle and
slide the assembly onto the guide rails at the sides of
the oven. Once engaged in the rails, slide the
rotisserie assembly towards the rear. Ensure that the
undercut on the locking wheel hub is engaged on the
rail. Slowly rotate the rotisserie assembly until you
feel the motor drive pin engage the shaft on the left
side of the oven.
Note: The locking removable wheel hub should be
positioned on the right hand side of the oven. Move
selector knob to 'Rotisserie' and set desired
temperature. Then turn Time Control knob to 'Stay
On' and cook as per recipe.
4. Once cooking is completed, turn the oven off and
unplug. Lift out rotisserie wheel with rotisserie handle.
Remove the hub wheel and slide of the birds.
Assembling the Fish Basket
5. Remove the hub wheel from the rotisserie assembly.
6. Load fish basket with desired ingredients. Close and
lock fish basket cover. Ensure that the locking tabs on
the cover are well engaged with the basket.
7. Insert the rotisserie hub with rods through the wire
hanging tabs on either side of the fish basket.
Replace the hub wheel.
8. Place assembled fish basket and contents in the oven
using the same method as was used for the
rotisserie.
9. Follow cooking instructions in recipe for time and
temperature.
Rotisserie Wheel
Fish Basket
5
