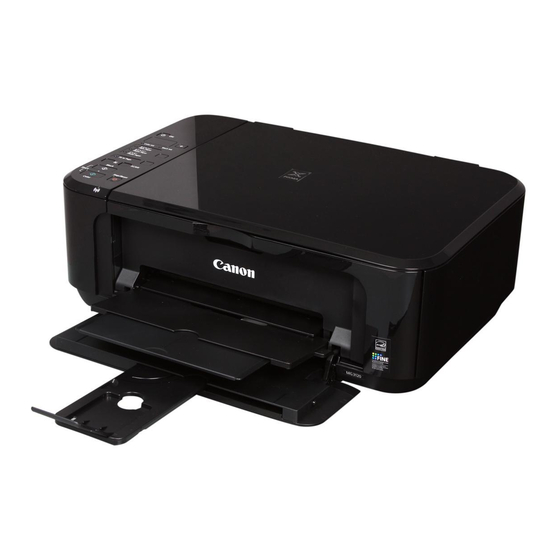
Canon 5289B019 시작하기 매뉴얼 - 페이지 3
{카테고리_이름} Canon 5289B019에 대한 시작하기 매뉴얼을 온라인으로 검색하거나 PDF를 다운로드하세요. Canon 5289B019 4 페이지. Wireless inkjet photo all-in-one

3
S e t t in g P l ai n
P a p e r
1
2
3
4
1
2
5
1
2
Printing without opening
the Paper Output Tray
causes an error.
For information about
paper, refer to the On-
screen Manual which will
be installed later.
Configuración
para papel normal
1 1
Check that the Paper Output Tray
is closed, then pull out the Paper
Support.
1 1
Asegúrese de que la bandeja de
salida del papel (Paper Output
Tray) está cerrada y extraiga el
soporte del papel (Paper Support).
2 2
Slide the right Paper Guide to the
end.
The left Paper Guide moves
simultaneously with the right guide.
2 2
Deslice la guía del papel (Paper
Guide) derecha hacia el lado.
La guía del papel (Paper Guide) izquierda
se mueve al mismo tiempo que la derecha.
3 3
Insert paper until it stops.
3 3
Inserte el papel hasta que
se detenga.
4 4
Adjust the Paper Guide to fit the
paper size used, then open the
Output Tray Extension.
4 4
Ajuste la guía del papel (Paper
Guide) al tamaño del papel
utilizado y abra la extensión de
la bandeja de salida (Output Tray
Extension).
5 5
Open the Paper Output Tray and
the Paper Output Support.
5 5
Abra la bandeja de salida del papel
(Paper Output Tray) y el soporte de
la salida del papel (Paper Output
Support).
Si imprime sin abrir la
bandeja de salida del
papel (Paper Output Tray),
provocará un error.
Para obtener más
información sobre el
papel, consulte el Manual
en pantalla que se
instalará posteriormente.
L o a d i n g P h o t o
P a p e r
Insert paper with the printable side down until it stops. When using photo paper, machine settings for
media type and size should be adjusted. For details, refer to the On-screen Manual which will be installed
later.
Inserte el papel con la cara imprimible hacia abajo hasta que se detenga. Cuando use papel fotográfico,
deberá ajustar la configuración del equipo al tipo y al tamaño del soporte. Para obtener más detalles,
consulte el Manual en pantalla que se instalará posteriormente.
Copy and other functions that do not require a computer are now
available.
Ya están disponibles la función de copia y otras funciones que no
requieren ordenador.
4
Do not connect the USB cable yet.
You will be prompted to connect it during the installation using the Setup CD-ROM.
No conecte aún el cable USB.
El sistema le solicitará que lo conecte durante la instalación utilizando el CD-ROM de instalación
(Setup CD-ROM).
•
Quit all applications before installation.
•
Log on using an administrator account.
•
Internet connection may be required during the installation. Connection fees apply.
Screens are based on Windows 7 operating system Home Premium and Mac OS X v.10.6.x. Actual screens
may differ depending on the OS version.
•
Cierre todas las aplicaciones antes de la instalación.
•
Inicie una sesión con una cuenta de administrador.
•
Durante la instalación, es posible que se tenga que conectar a Internet. Esto puede implicar gastos de conexión.
Las pantallas se basan en Windows 7 operating system Home Premium y Mac OS X v.10.6.x. Las pantallas
reales pueden diferir en función de la versión del sistema operativo.
1
C a r g a r p a p e l
f o t o g r á f i c o
1 1
Press the ON button to turn off the
machine.
Operating noise stops after about 30
seconds.
1 1
Pulse el botón ACTIVADO (ON)
para apagar el equipo.
El ruido de funcionamiento se detiene al
cabo de aproximadamente 30 segundos.
