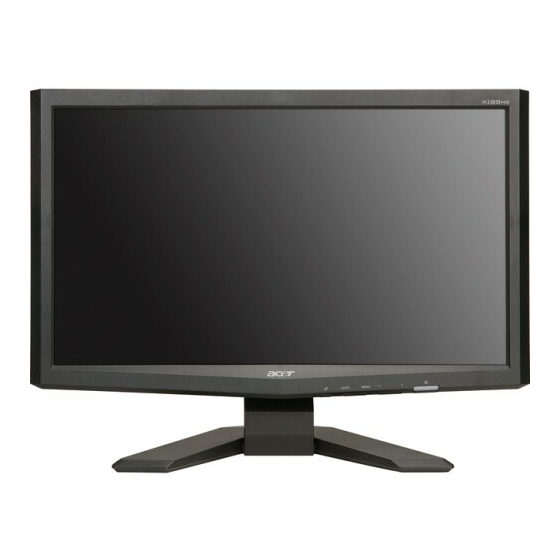
Acer X193HQ Series 서비스 매뉴얼 - 페이지 13
{카테고리_이름} Acer X193HQ Series에 대한 서비스 매뉴얼을 온라인으로 검색하거나 PDF를 다운로드하세요. Acer X193HQ Series 36 페이지. Auo panel
Acer X193HQ Series에 대해서도 마찬가지입니다: 빠른 시작 매뉴얼 (24 페이지), 서비스 매뉴얼 (47 페이지)

ACER X193HQ
12
Go to cover page
4.1 Assembly procedures:
Connect the cable between power board(P802)
S1
and interface board (P301)
Connect the function key cable into interface
board(P304)
Connect the FFC cable into interface board
P304
P301
FFC
Use a Phillips-head screwdriver screwed the
S2
No.1~4 screws till that power board and bracket
chassis base firmly attached.(No1~3 screw
size=M3x6; No4 screw size=M4x8;
Torque=9~10KGFxCM).
1
3
Use a Phillips-head screwdriver screwed the
S3
No.1~2 screws till that interface board and bracket
chassis base firmly attached.
(No1~2 screw size=M3x6; Torque=9~10KGFxCM).
2
4. Assembly and Disassembly Procedures
P802
2
4
1
Take the key function cable out from the hole
S4
shown as photo
Fix the function key cable with a PVC tape
Turn the monitor faced down and put it on the
S5
bracket chassis module till both parts firmly
Connect FFC cable to LCD panel. There are
two locks over here when plugging in should
be noticed
Plug in parallel direction
Angel < 5 degrees
