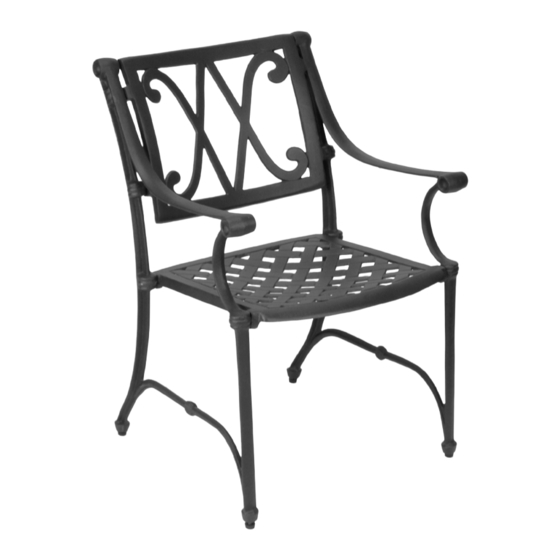
Astonica 50100163 사용 설명서 - 페이지 2
{카테고리_이름} Astonica 50100163에 대한 사용 설명서을 온라인으로 검색하거나 PDF를 다운로드하세요. Astonica 50100163 2 페이지. Vista armchair

PARTS & HARDWARE LIST
PART #
A
Seat
B
Backrest
C
Right Arm/Leg
D
Left Arm/Leg
E
Threaded Studs
F
Flat Washers
Lock Washers
G
H
Hex Nuts
Acorn Nuts
I
Adjustable Feet Pad
J
Parts Detail
D
A
Carefully remove the contents from the package. If any parts are missing do not
attempt to use the product until they have been obtained and correctly installed.
IF YOU HAVE ANY PROBLEMS OR QUESTIONS CONCERNING THIS PRODUCT,
DO NOT RETURN IT TO YOUR RETAILER. CONTACT CUSTOMER SERVICE AT
1-800-843-2446.
NOTE: This product is intended for residential, non-commercial use.
DESCRIPTION
B
C
1
QUANTITY
Figure 1
2
2
2
2
16
16
16
8
8
8
E
F
G
H
I
CAUTION: Do not over tighten screws, studs, and bolts. This may result in stripped threads.
1. (SEE FIGURE 1) Install threaded studs (E) into threaded holes of right arm/leg (C)
and left arm/leg (D).
2. Place right arm/leg assembly (C) on one side with threaded studs upward.
J
3. Align threaded studs of arm/leg (C) with chair back (B) join arm/leg and chair back.
Install mounting hardware, flat washer (F), spring washer (G) and nut (H), hand tighten only.
4. Align seat assembly (A) over threaded studs of right arm/leg assembly (C). Install mounting
hardware flat washer (F), spring washer (G) and domed nuts (I), hand tighten only.
5. Align threaded studs of left arm/leg assembly (D) over seat and chair back. Install mounting
hardware hand tighten only.
6. Stand chair upright and gradually tighten hardware in an "X" pattern.
7. Place chair assembly on one side and attach feet pad (J). Adjust feet pad until chair stands level.
8. Repeat steps 1 through 7 to assembly second chair.
ASSEMBLY INSTRUCTIONS
B
A
H
G
F
C
2
D
I
G
F
E
