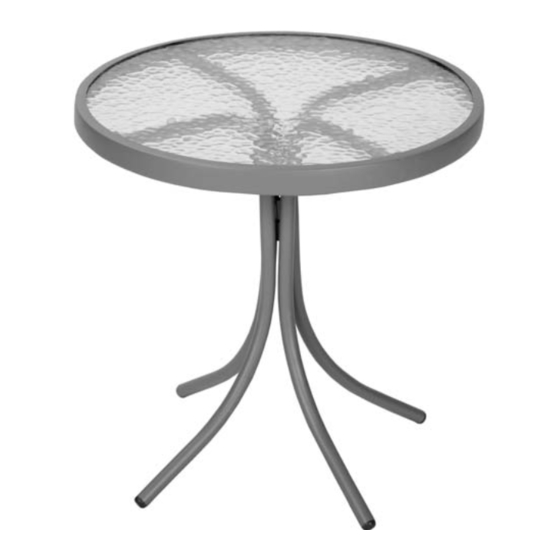
Astonica Laurel 사용 설명서 - 페이지 2
{카테고리_이름} Astonica Laurel에 대한 사용 설명서을 온라인으로 검색하거나 PDF를 다운로드하세요. Astonica Laurel 2 페이지. 38" x 60" rectangular dining table
Astonica Laurel에 대해서도 마찬가지입니다: 사용 설명서 (2 페이지), 사용 설명서 (2 페이지)

PARTS & HARDWARE LIST
PART #
A
Table Top
B
Table Legs
C
Leg Connector Bracket
D
Table Top Support
E
Table Top Bumper
F
Flat Washer
G
Hex Bolt
H
Hex Cap
I
Screw
J
Hex Wrench
K
Screw Driver
Parts Detail
C
E
F
G
Carefully remove the contents from the package. If any parts are missing do not
attempt to use the product until they have been obtained and correctly installed.
NOTE: This product is intended for residential, non-commercial use.
DESCRIPTION
A
D
H
I
J
1
QUANTITY
1. (FIGURE 1) Insert the table top bumpers (E)
1
into the holes located on the top of the table
4
legs (B) and table top supports (D).
1
2
6
12
12
12
6
1
1
2. (FIGURE 2) Place the table top (A) upside down
on a flat non-scratch surface. Insert table
legs (B) into leg fittings of the table top (A).
Secure the tables legs to the table top using
screws (I) and screw driver (K).
Do not tighten fully.
B
3. (FIGURE 3) Place leg connector bracket (C)
between table legs (B) and secure with hex
bolts (G) and flat washers (F) using hex
wrench (J). Do not tighten fully.
K
4. (FIGURE 4) Insert the table top supports (D)
into the center fittings of the table top (A).
Secure the table top supports (D) to the leg
connector bracket (C) using hex bolts (G) and
flat washers (F).
5. Carefully rotate table assembly to upright
position. Tighten hex bolts (G) and screw (I)
with hex wrench (J) and screw driver (K).
6. Insert hex caps (H) over hex bolt heads (G).
CAUTION: Do not over tighten fasteners.
ASSEMBLY INSTRUCTIONS
Figure 1
Figure 2
B
Figure 3
H
J
Figure 4
F
G
A
2
E
B
D
K
I
A
F
G
B
C
F
G
J
B
J
H
C
K
K
I
I
D
